ScopeStack allows you to add Products to your Project. You can add Products from a few different sources.
-
Reusable Content from Settings: You can create Products in Settings stored in ScopeStack and then added to your Project. Once you add them to your Project, you can update elements to customize them for the context of your Project.
-
Custom Product in your Project: You can create products that only exist in your Project. These products are not reusable on a per-project basis. You can create Products directly in your Project either by:
-
Creating a Custom Product: User our user interface to input the proper information.
-
Importing a spreadsheet of Products: Upload a formatted spreadsheet of the appropriate information.
-
Once you've added Products to your Project, you can control their inclusion and exclusion from the Project Price via the Payment Term.
Adding a Product from Settings
To add a reusable product from Settings, complete setting up your Product in the settings area (Settings > Content > Product). After you've created your Product, navigate to your Project and select Product > Product from the left menu.
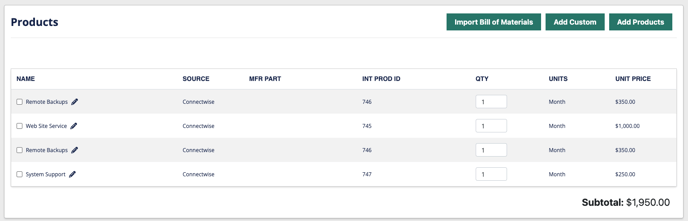
You'll now see a list of the Products in your Project, if any. To add a reusable Product, click the Add Products button at the top right of the list.
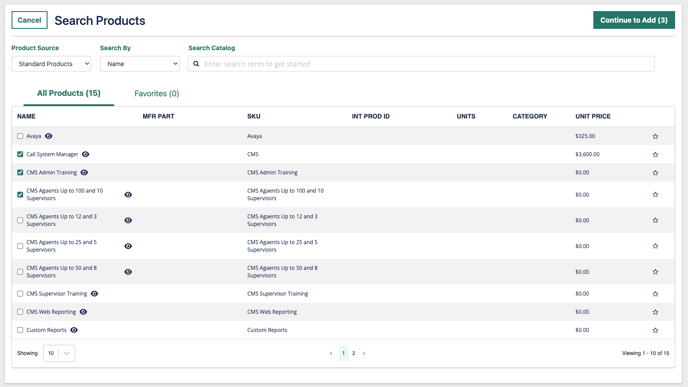
Here, you can search for and select the Products you want to add. When you're ready, click "Continue to Add" to review the products you want to add to your Project.
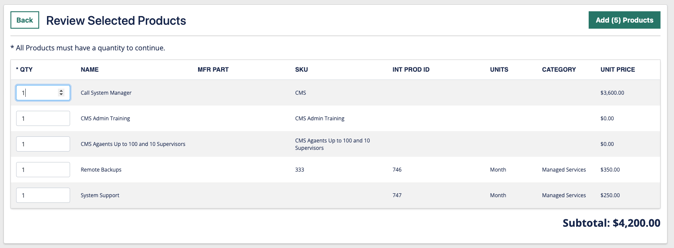
You will next be brought to a page to review the products. Here, you can change the quantity associated with each of the products you selected to be added. Once you are finished reviewing your products, click the "Add Products" button at the top right, to add them to your project.
Adding a Product from ConnectWise
You can now add products to your project from ConnectWise Manage!
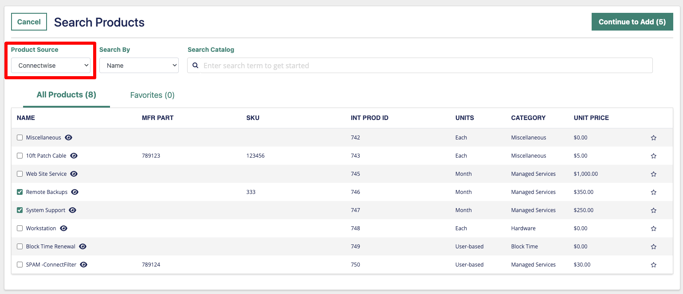
To add your products from ConnectWise, simply set the "Product Source" to ConnectWise when searching for products to add to your project.
Adding Custom Products to Your Project
When you add Custom Products to your Project, you can define several attributes about your Product.
-
Name (required): This is the plain-English name of the Product.
-
Quantity (required): This lets you define the amount of the material to be used to calculate pricing on your Project.
-
Unit of Measure: This is the "unit" for the quantity (lots, servers, cables, etc.)
-
Description: This is a plain-English description where you can add additional information about the Product.
-
Manufacturer Part Number: This is the reference number from the Manufacturer for your Product.
-
Internal Product ID: This Product ID field is unique to each Product.
-
Vendor SKU: This field allows you to capture the Vendor's SKU associated with the Product.
-
Category: Category is an easy way to group Products
-
Subcategory: This allows you to define a subcategory for your Product.
To define pricing, you can set one of the following schemas:
-
Unit Price: The price per unit for the Product.
-
Unit Cost: The cost per unit for the Product.
OR
-
List Price: The vendor's list price for the Product.
-
Vendor Discount (%): The discount which a vendor gives to a customer.
-
Rebate (%): The rebate which a vendor provides a customer.
-
Markup (%): The amount of markup you would like to put on the Product
The Platform will calculate Unit Price and Unit Cost from the List Price parameters using the following formulas:
-
Unit Cost: (List Price) – (Vendor Discount x List Price) – (Rebate x List Price)
-
Unit Price: (Unit Cost x Markup) + Unit Cost
So, for example, if you have the following values:
-
List Price: $1000
-
Vendor Discount (%): 25%
-
Rebate (%): 25%
-
Markup (%): 100%
The Unit Price and Cost Calculations are:
-
Unit Cost: $1000 – (0.25 x $1000) – (0.25 x $1000) = $500
-
Unit Price: ($500 x 1) + $500 = $1000
Creating a Custom Product in the Platform
To create a Custom Product in the Platform, click the Add Custom button at the top right of the products list.
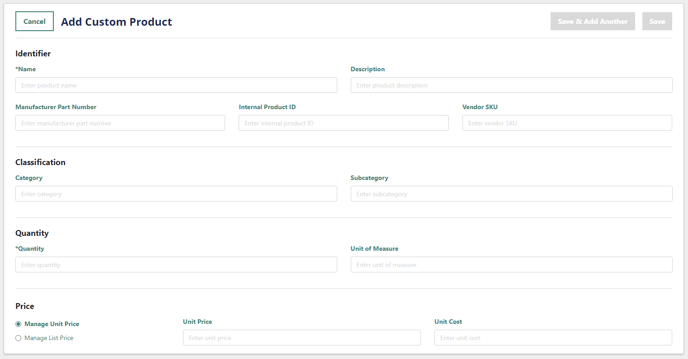
The Platform will take you to a page where you can define the parameters in the user interface. Enter the appropriate information and press Save to continue or Save & Add Another to create additional products.
The Platform will save your information, and you will see the updated Unit Price and Unit Cost calculated from your values if you input list price information.

You can click the Back button to see your listing of materials.
Importing Custom Products
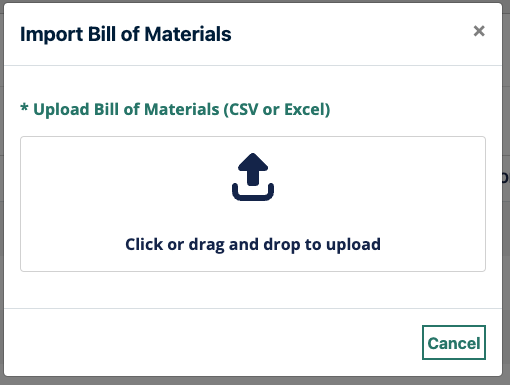
You can also import Custom Products into the platform from a spreadsheet Bill of Materials. You can import the file as an Excel or CSV file.
Before you begin, make sure to clean up the spreadsheet you're going to import so the relevant information aligning with the above-outlined attributes is clear.
-
If the spreadsheet has any other information above the column of attributes, remove that information.
-
Make sure the pricing attributes are in the proper format (List price in currency, vendor discount in percentage, etc).
When you're ready to import, click the "Import Bill of Materials" button in the top right corner of the Products page on your Project.
You'll now be taken to a field mapping page. Please align the columns to be imported to the attributes available. You don't have to import every column, but you must map the Name and Quantity fields. You can scroll to the right to reveal additional columns.
If you import both a List Price and a Unit Price, the List Price calculation information will be saved. The Unit Price and Unit Cost will be calculated based on the List Price calculations.
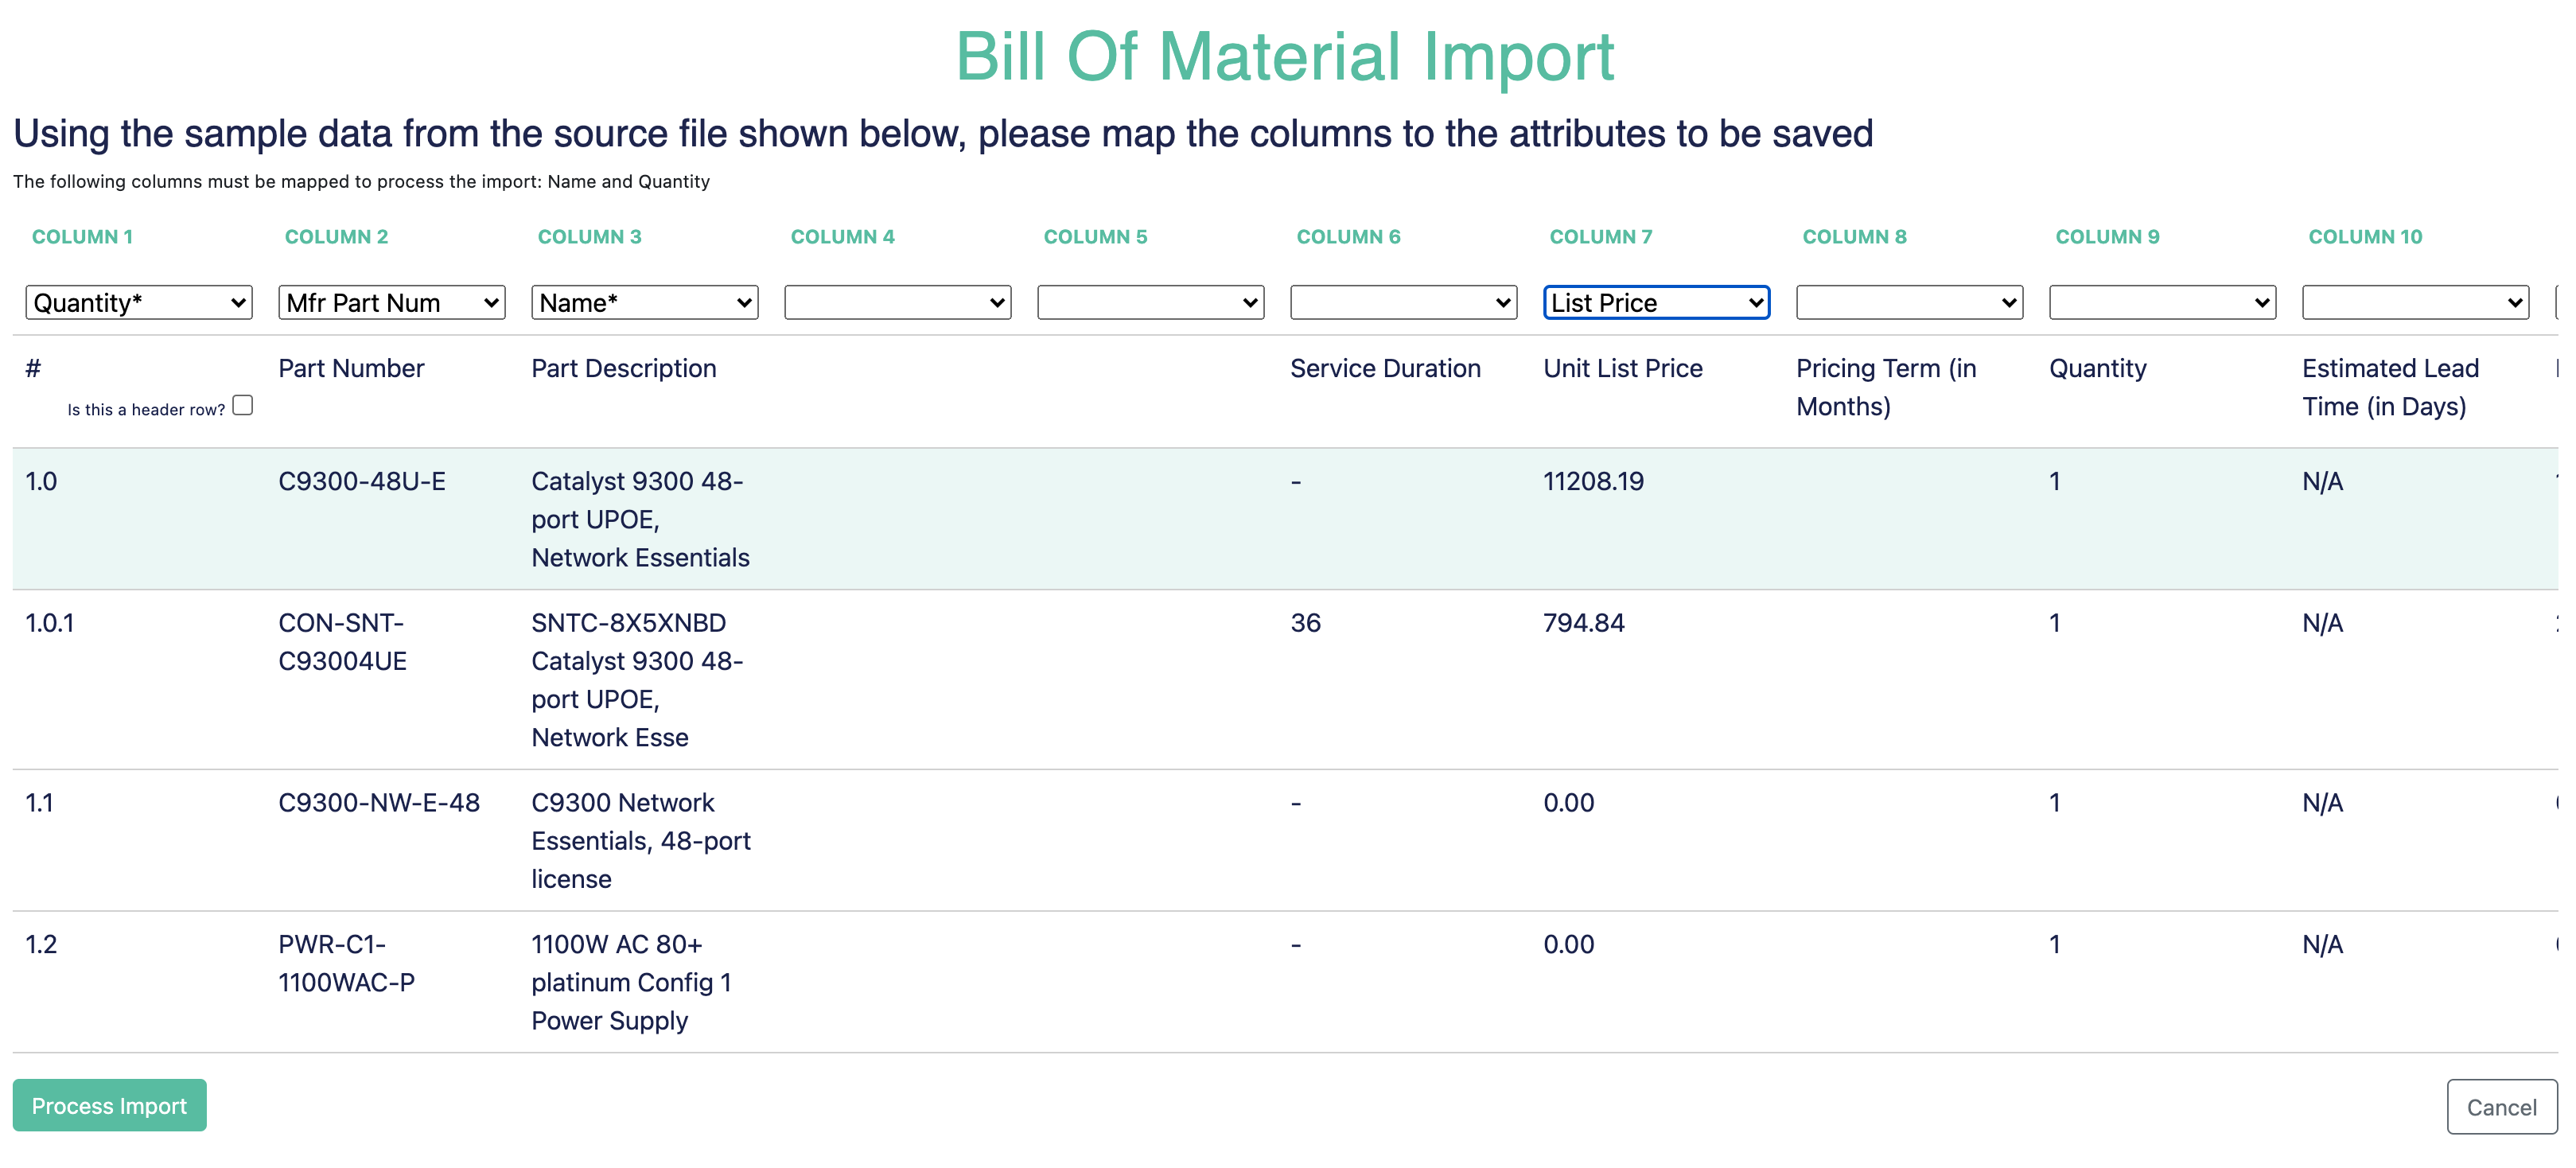
When you're ready, click the Process Import button. After successfully importing, you can now see all your products on the Product page.
You're now set to manage Products with ScopeStack!
Did this answer your question?