User Roles and Permissions
The following article explains the roles available on the ScopeStack platform.
ScopeStack users a Role-based access model to govern access and permissions in different parts of the platform.
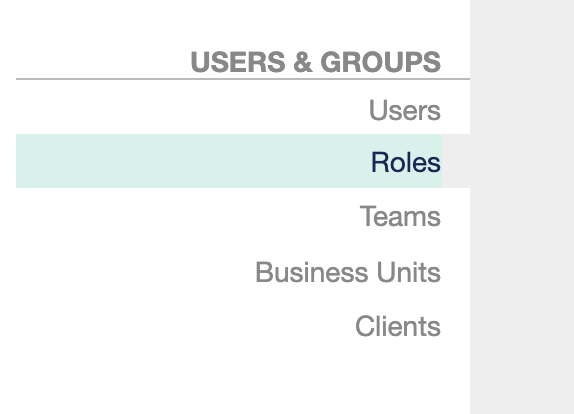
You can access Roles under Settings > Users & Groups > Roles

By default, new accounts start with three permission levels:
-
Admin
-
Sales
-
User
Roles are Additive
Roles in ScopeStack are additive, meaning:
-
Users may have multiple roles with different permission levels for a particular activity.
-
The platform determines a particular user's permission for a specific activity by looking at the "highest" level of permission that the user has across any of the roles they have been assigned to.
For Example, a user may have two roles assigned to them:
-
One role gives them permission to Manage Settings Project Phases.
-
The second role only gives them View permissions on Settings Project Phases.
That user has permission to manage Settings Project Phases since the highest level of permission assigned to them for that activity is Manage.
You can view the permissions any particular user has based on their assigned roles by navigating to that user in the Users list and clicking on the Privileges tab for that user.
Creating a New Role
Users with permission can create new roles by clicking the "+ Add Role" button below the list of Roles.
-
You can give your new role a name.
-
You can then change the permission settings for the different possible activities in the platform to give your role the desired outcome.
-
Click Submit at the bottom to save.
-
You can now assign this role to users.
Modifying an Existing Role
To modify an existing role, first, click on the role you want to modify from the role list.
-
Inside the role, change the particular permissions you desire to change.
-
Click submit when you're done.
Default Role
One role is defined as the default role so that a user will have some base permission on the platform if no other role is assigned. This is especially helpful if you are using SSO to auto-provision new users. New users will be initially given this role when their accounts are created and can then be given a new role as necessary.
