Adding New Travel/Expense Items in Settings
ScopeStack comes with a few options for pre-defined Travel & Expense items. You can remove, change, or add your own under Settings > Financial > Travel & Expense.

To add a new expense item, click + Add Expense.

Here you can edit the Name, Resource Usage, Amount, Phase, and Markup of your Travel & Expense item. Once you have completed athat you can press the Submit button to finish the process.
Adding Travel/Expense to a Project
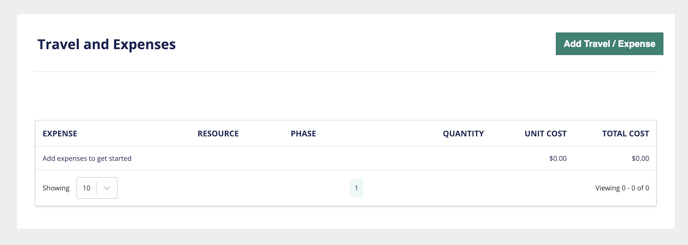
To add a Travel/Expense item to a Project, navigate to Travel/Expense under the Professional Services tab of your project. Here you can click Add Travel/Expense to add an item to your project.
Here you can edit...
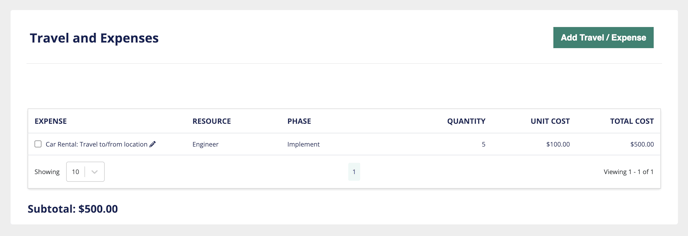
- Expense: This is the category of Expense, selectable from the options you defined in Settings earlier.
-
Description: This is a custom description of the expense for this project.
-
Phase: This optional field allows you to indicate what phase the expense is happening in.
- Resource: This is the resource that the expense item is facilitating.
- Which Service Makes use of this expense?: This is optional.
-
Amount Per Item/Day: This allows you to define the amount to charge per unit for this expense. For example...
-
If you are including airfare and the tickets are $500/trip, you can put $500 in this field.
-
If you are including per diem at $50/day, you can put $50 in this field.
-
-
Quantity: This is the number of units/days of the expense to include in the project.
- Target Margin
When you are finished editing your Travel/Expense item, click Save to add the item to your project.
Congratulations on adding your Travel/Expense items to your project! To learn more about working on the platform, click the button below.