Rate tables allow you to define different sets of rates, costs, and other information to use on various projects in your account. Rate tables reference the list of Resources in your account and allow you to define values for each Resource. Rate tables also allow you to change the currency for a project.
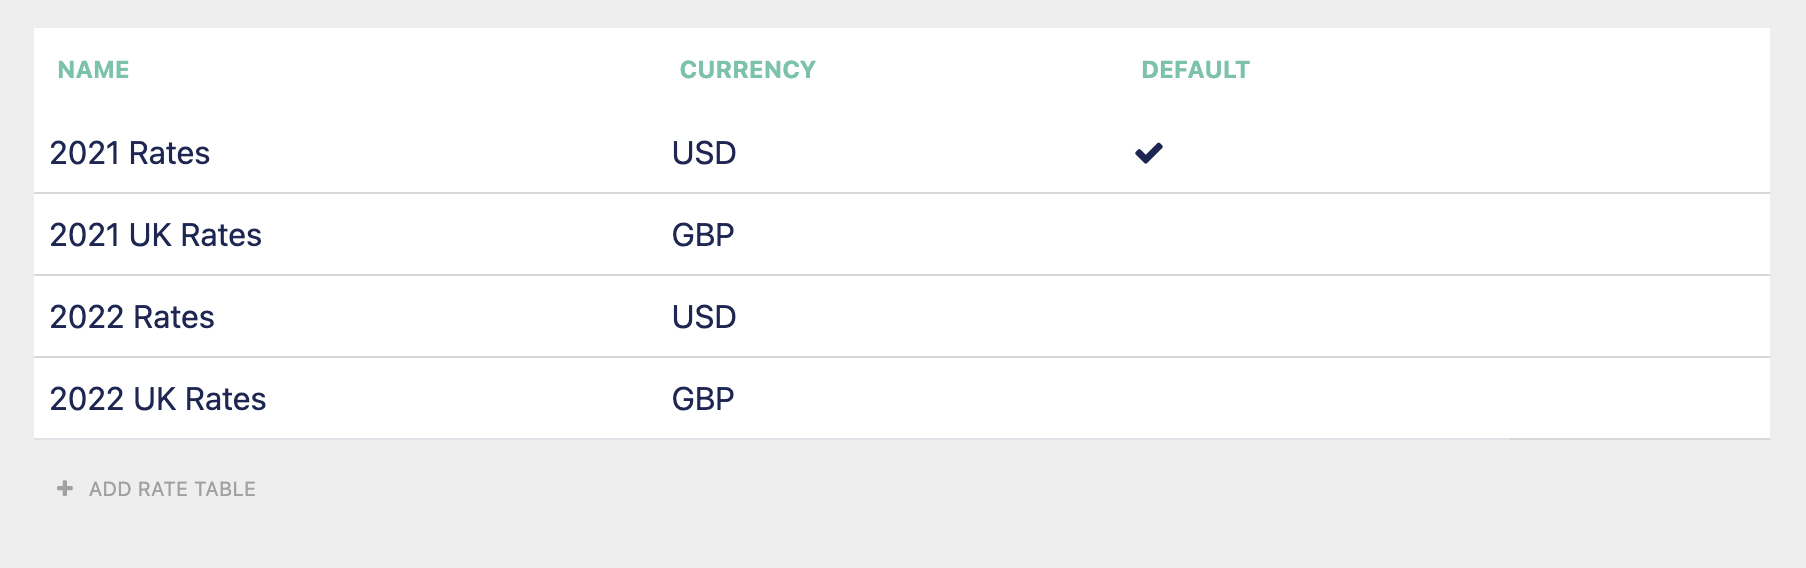
To create or modify Rate Tables, navigate to Settings > Financial > Rate Tables. Here, you'll see the list or rate tables in your account. You can see their Names, Currency, and which is the Default table for your account.
Parts of a Rate Table
To Edit an existing table, click on the name of the table you want to edit.
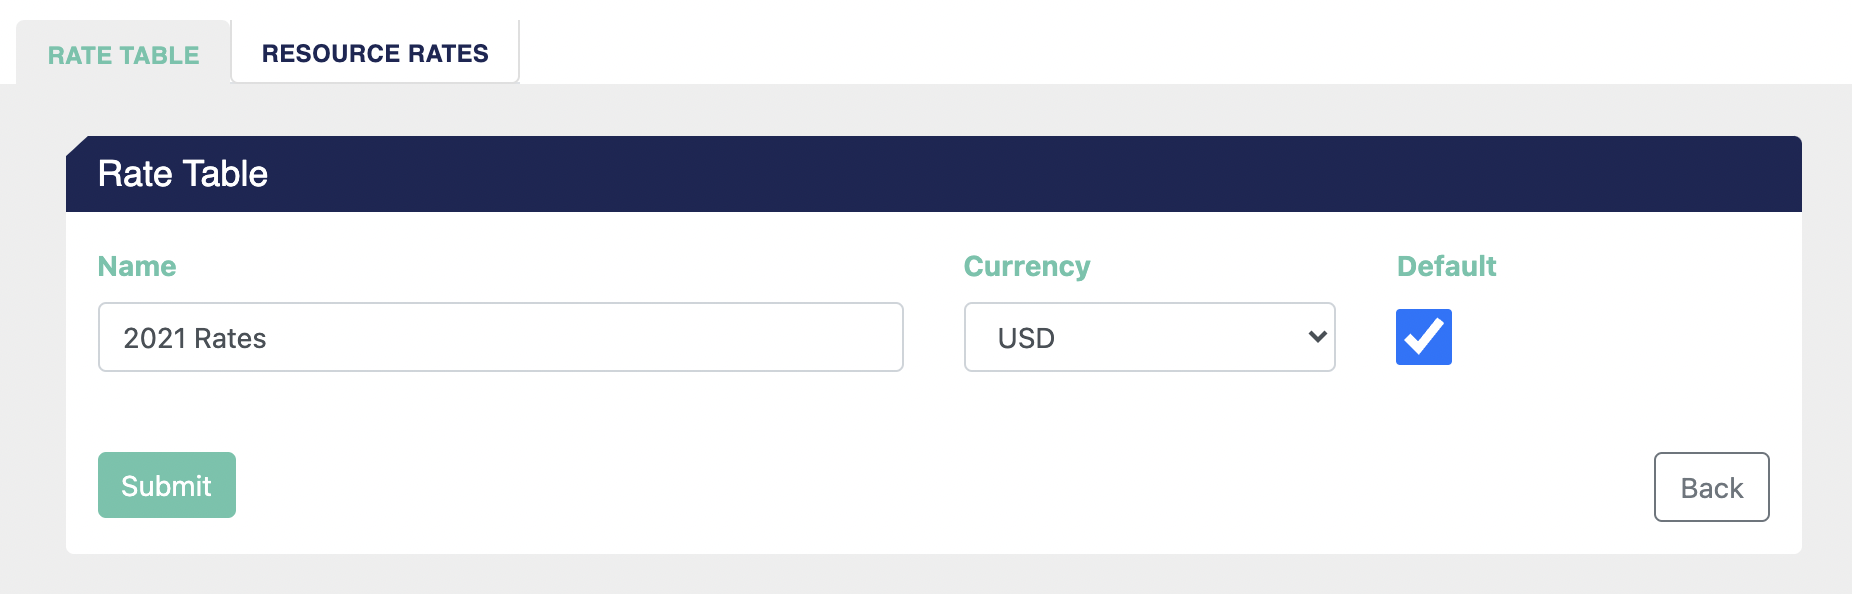
Here, you can change the name of a rate table, change the currency it's associated with from the currencies created in your account, and set whether this will be the default rate table.
-
The Platform will show the Name of the Rate Table in the single-select dropdown on the Project Overview screen and other places where you can select a rate table.
-
The Currency selection will set the currency that the rate table is in. This currency select changes the styling of the presented pricing information and will convert from one currency to another in the Platform as needed.
-
Setting the table as the default will make that table the new default table in your account.
To set up information for individual Resources, click the Resource Rates tab.
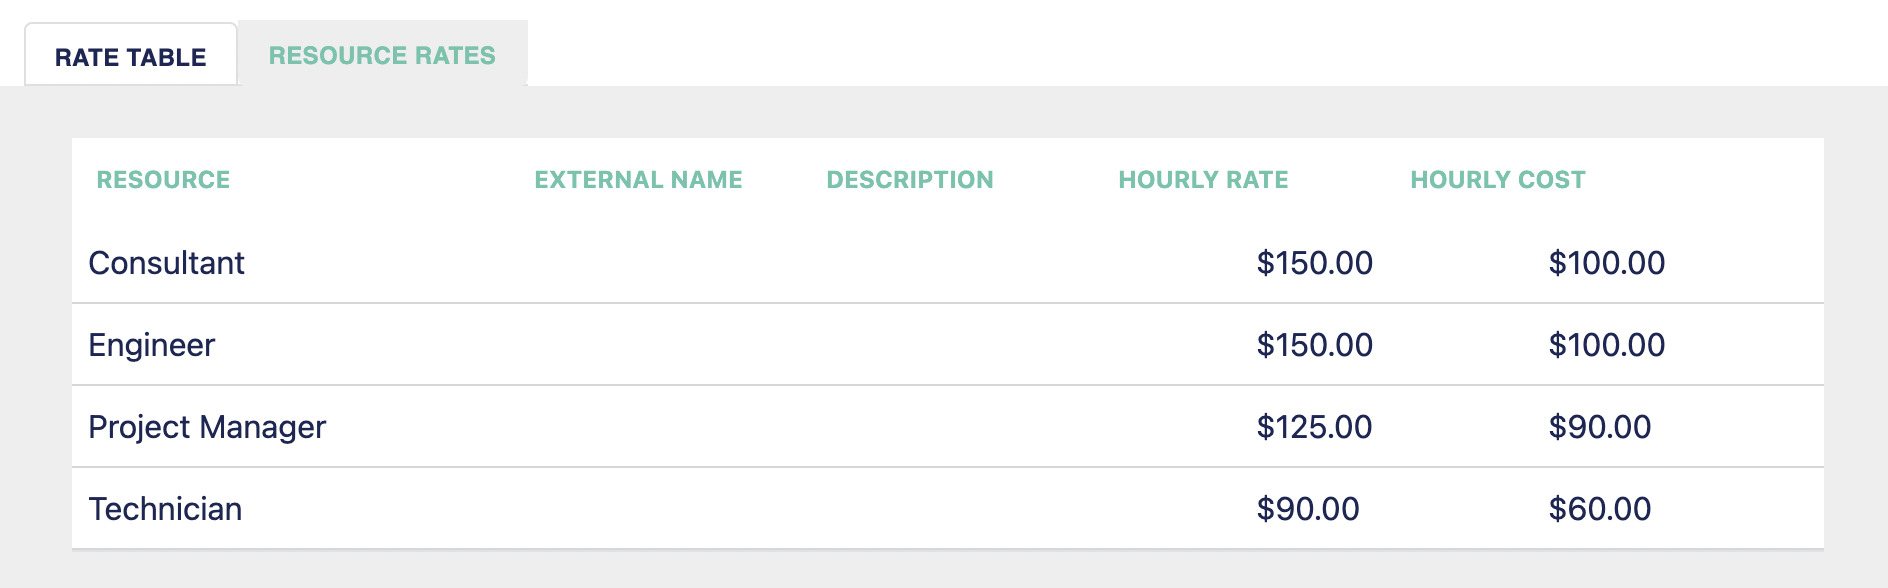
Here you can see all of the Resources in your account, along with the information specific to this particular rate table.
To Edit a specific Resource in this rate table, click on the Resource.
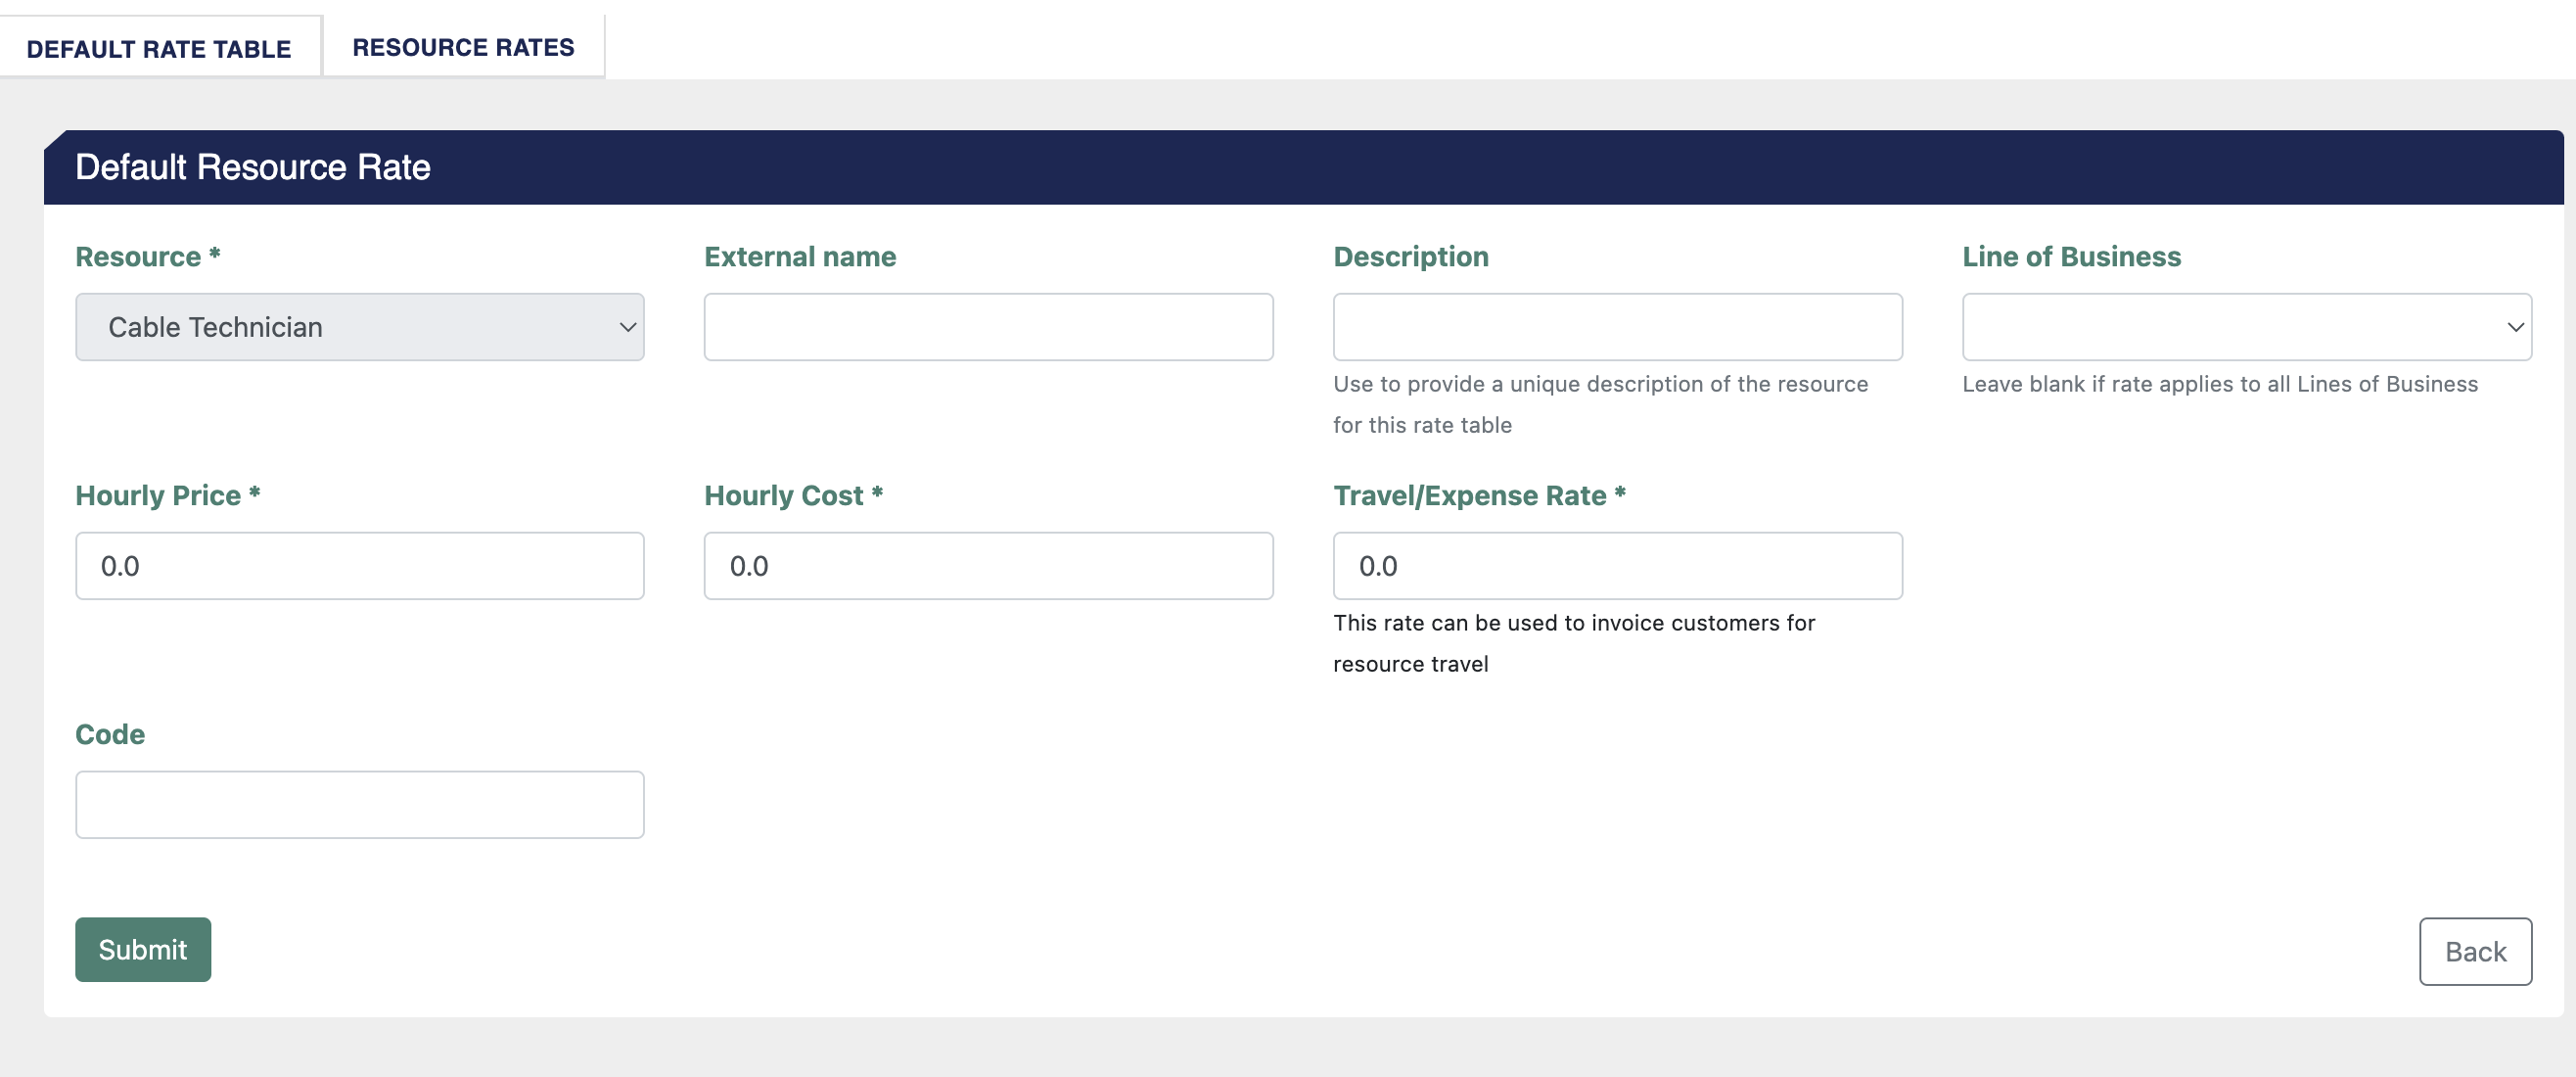
Here, you can see and edit the specific information relating to that Resource.
-
Name: This is used for the resources throughout the user interface and can be merged into documents. This field can't be edited.
-
External Name: This is an optional field that lets you define an alternative name for the Resource in your documents. It inherits the value from the Resource listing but can be updated here for the Rate Table and updated per Project if permission allows. If a particular resource is called an "Engineer" in one context and an "E1" in another, you can define that here and change it via the rate table on a project.
-
Description: This is an optional field that lets you describe the Resource. You can use the description in your documents. It inherits the value from the Resource listing but can be updated here for the Rate Table and updated per Project if permission allows.
-
Hourly Rate: This is the rate you will charge your client for the Resource's work
-
Hourly Cost: This is your cost internally for the Resource's work.
-
Travel/Expense Rate: This is the rate you will charge your client for the Resource's travel and expense time if you create a travel and expense item to account for the effort.
- Line of Business: This is the Line of Business/Service Category that is associated with the resource. Leaving this blank will associate this resource to all Lines of Business.
Creating Line of Business/Service Category Specific Resources
You can create Line of Business (LOB) and Service Category (SC)-specific Resource instances. Services in a Project in a specified LOB and SC can have a different rate/cost from the same Resource attached to a Service in a different LOB or SC combination. Since you can define rates at multiple levels, an SC-specific rate will override a LOB-specific rate, and a LOB-specific rate will override a general rate.
Note: On a Rate Table, you can add additional instances of those resources at the Line of Business/Service Category level.
When you add a Service to a Project, the platform determines if the Rate Table assigned to the Project contains an LOB/SC-specific resource, and creates a Project Resource for that LOB/SC if necessary.
Adding a LOB/SC specific Resource to a Rate Table...

There are now two Engineers: One for all LOBs, and one for the Collaboration LOB specifically.

When I create a Project using this Rate Table and add a Collaboration LOB service, the Service is added using the Collaboration instance of the Engineer LOB, where applicable.

Creating a New Rate Table
To create a new Rate Table, click the + Add Rate Table button on the Rate Table page.
-
If you create a Rate Table in the same currency as your default rate table, the new table will inherit the rates of the current default table. You can then update them as needed.
-
Suppose the new Rate Table uses a different currency as your default rate table. In that case, the Platform will automatically use the currency conversion rate to calculate the rates into the new currency. You can then update them as needed.
You can then set up the new rate table updating other information as needed.
Preferred Rate Tables
Each user may select a preferred rate table. Additionally, a preferred rate table may be chosen for individual clients in support of rates that may have been negotiated for a contract. You can do this under Settings > Clients.
Note: This option will only be visible once you have more than one rate table created in your account.
Rate Table priority is:
-
Account-default Rate Table
-
User-Preferred Rate Table
-
Client-Preferred Rate Table
User-Preferred Rate Table Setup
You can set up a preferred rate table for your user account. To access this setting, navigate to Profile (next to Settings in the menu).
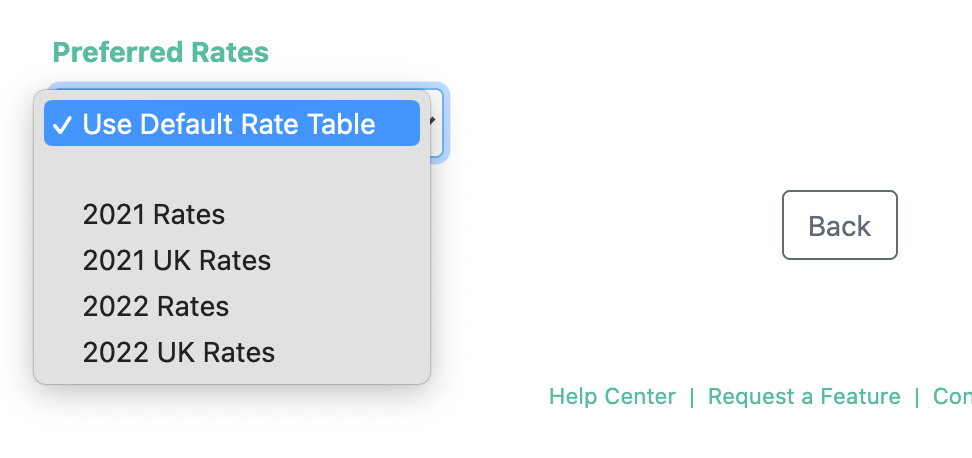
You can select which Rate Table you prefer for each project you create.
Client-Preferred Rate Table Setup
You can set up preferred rate tables for specific clients in the Client listing. To access this listing, navigate to Settings > Users & Groups > Clients. Click the client you want to set a preferred rate table for.
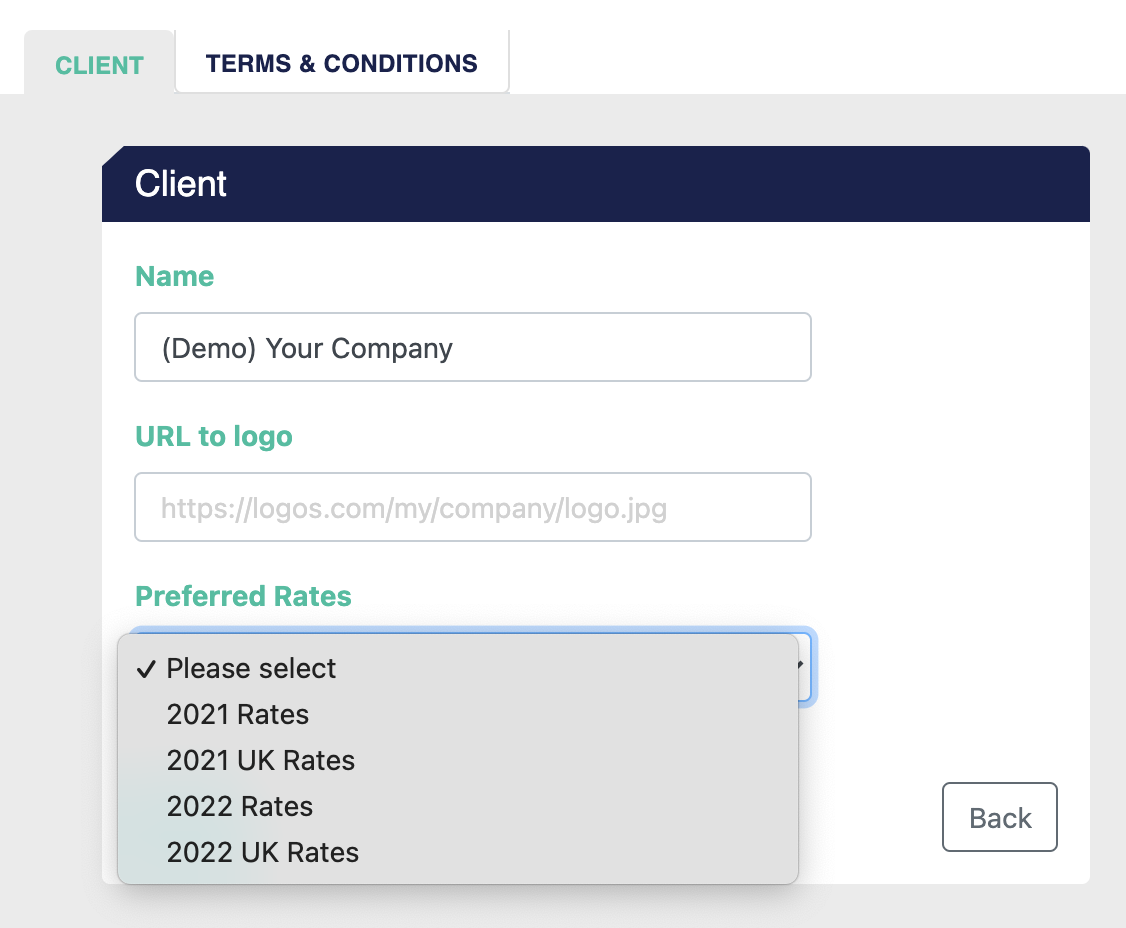
After you've set up a Client-preferred Rate Table, when scoping a project for that specific client, the Platform will use the Client-preferred Rate Table automatically.
Rate Tables in Projects
Once your account has more than one rate table, you will have the option to select a different rate table on a per-project basis.

Like other elements of a Project, the Rate Table is captured when the Project is created. If you change a Rate Table in settings after it is assigned to a Project, nothing about the existing Projects will be changed.
Importing Rates from a CSV or Excel Spreadsheet
You can import rates into a rate table from a CSV or Excel Spreadsheet. On the Resource Rates tab, click the Import button and select a file to import.
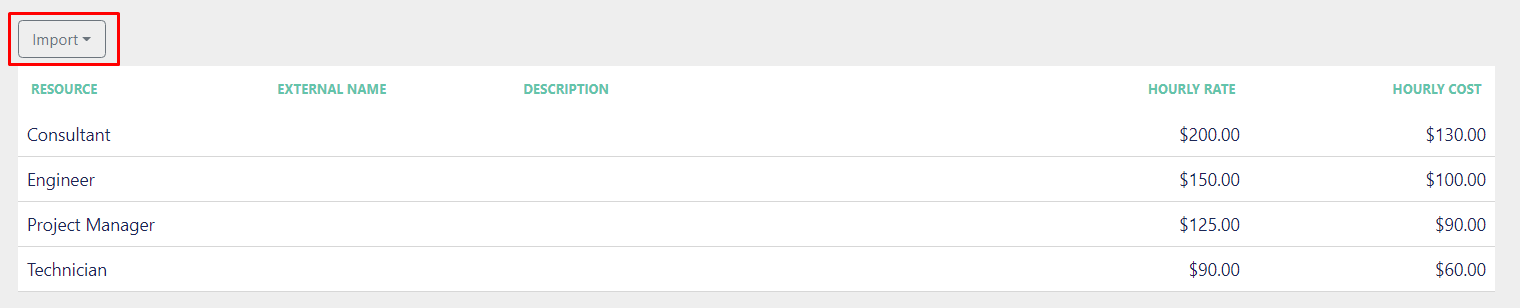
After importing the file, map the columns with their respective attributes: Resource, Description, External Name, Hourly Rate, and Hourly Cost.

Click Process Import to import your resources and rates to your rate table.
Did this answer your question?