Creating Attachment Types
Before using attachments in your Projects, you first need to create some Attachment Types. Attachment Types are the categories of items attached to a project.
To create an Attachment Type, navigate to Settings > Documents > Attachment Types.

Here you can see the types already in your account. To create a new type, click the + Add Attachment Type.
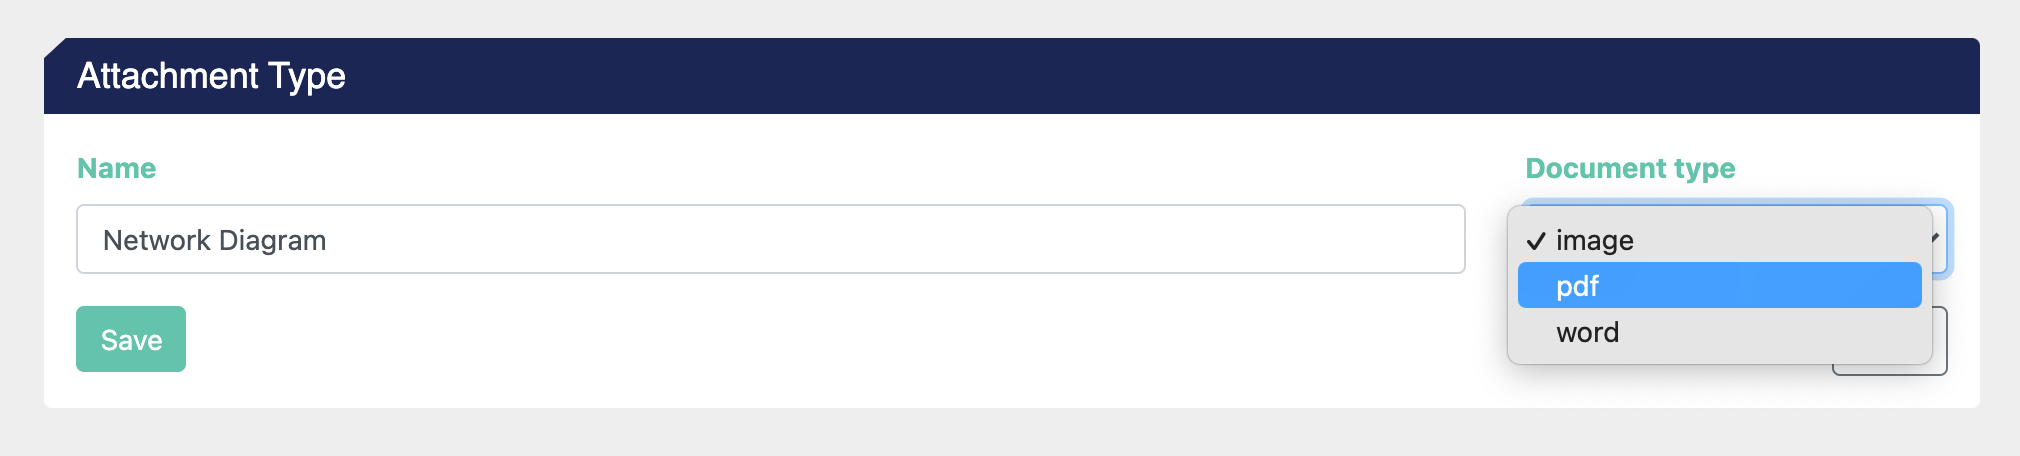
Here you can give your new type a name and a variety. The platform will use the name to reference the item, and the type provides the platform with some context about what kind of file it's holding.
When you're ready, click Save.
After you've created attachment types, there are a couple of primary ways to use attachments in Projects.
1. Insert Images into your Documents
You can insert images into your documents via Attachment Types. A few particulars:
-
Please use JPG or PNG files to insert into your documents.
-
The image you attach to a project in the platform will inherit the length and width (aspect ratio) of the image placeholder (detailed below) in the document. If the image you upload is a rectangle, but the placeholder is a square, the image will be squished into a square.
-
If the image is low resolution, but the placeholder is large, the image by be pixelated in the generated document.
Attach images to your Project
After you've added the Attachment Types to your account, you can upload images to your Project to insert into Documents.
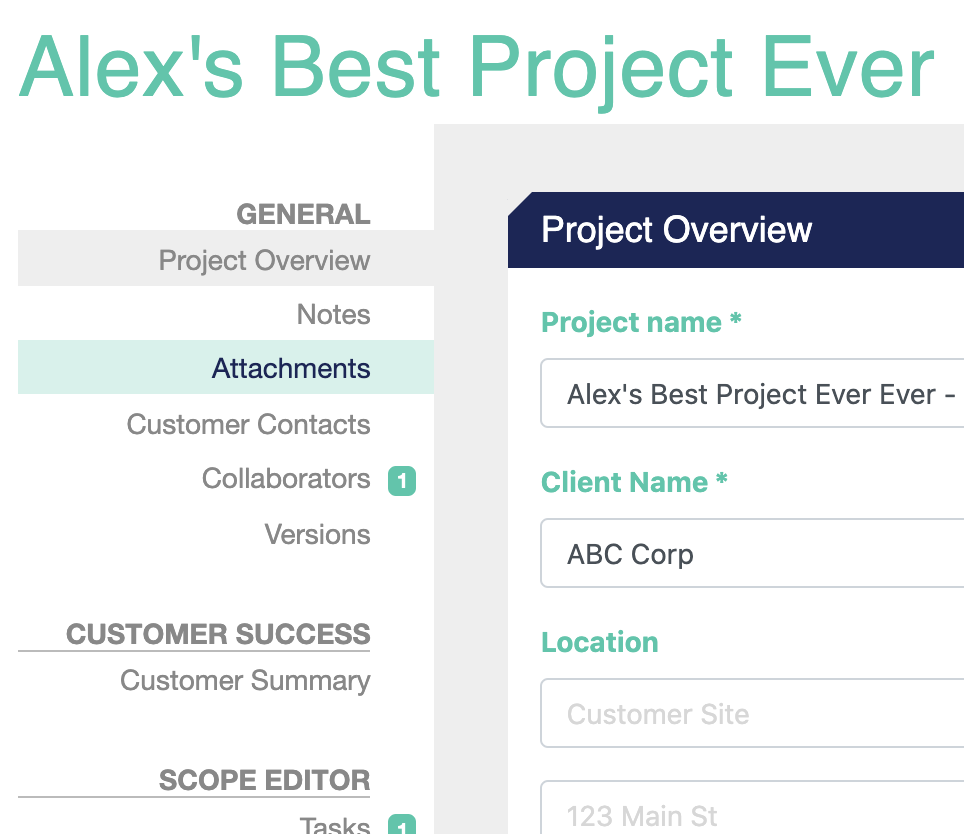
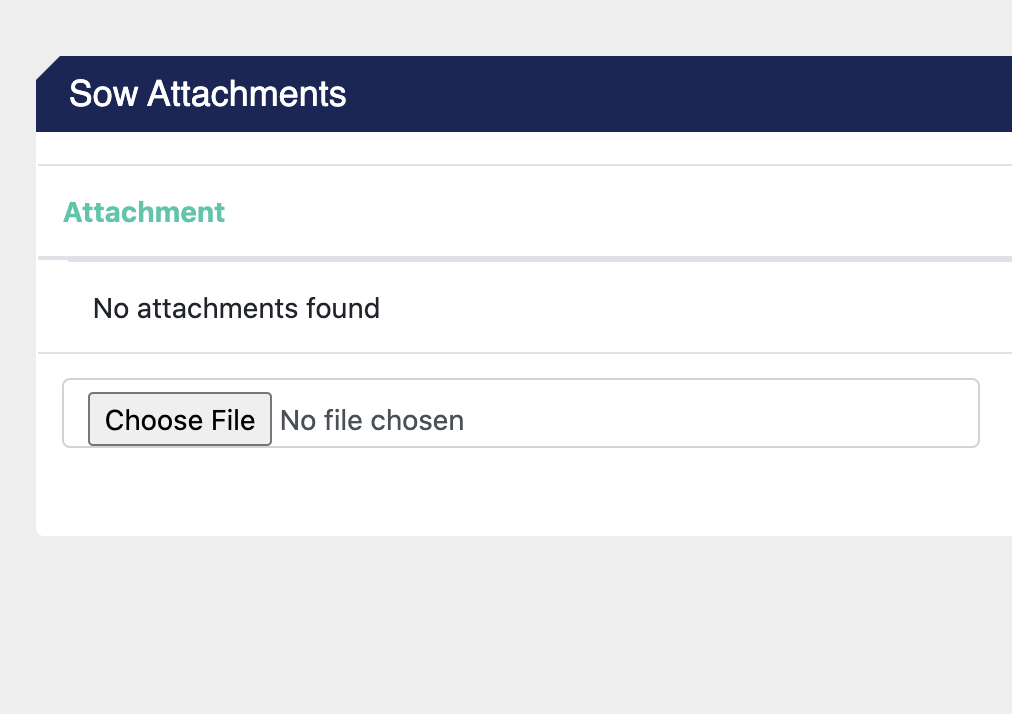
To attach an image to a document, navigate to Projects > General > Attachments.
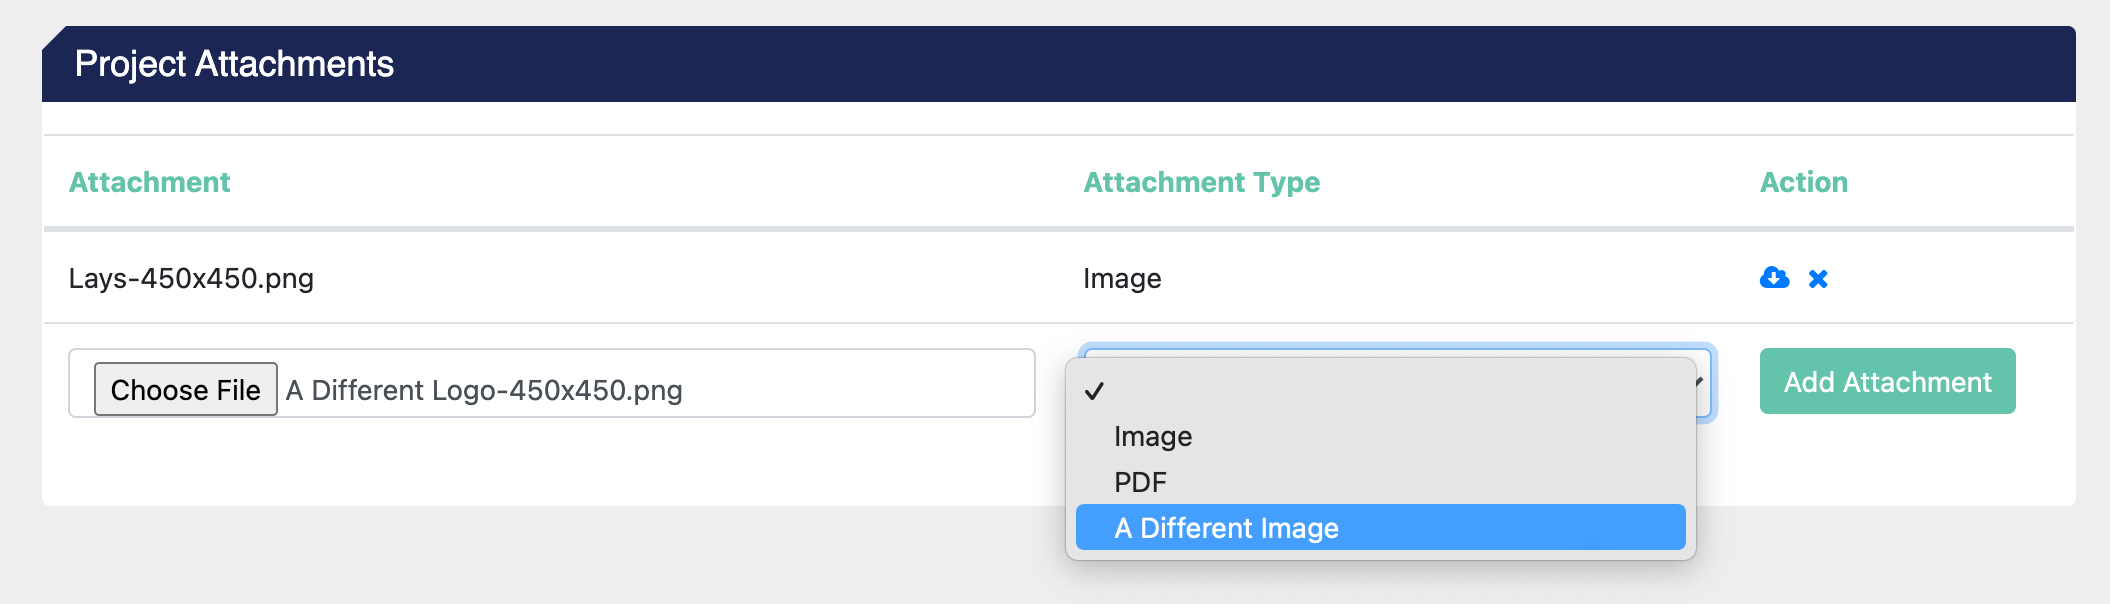
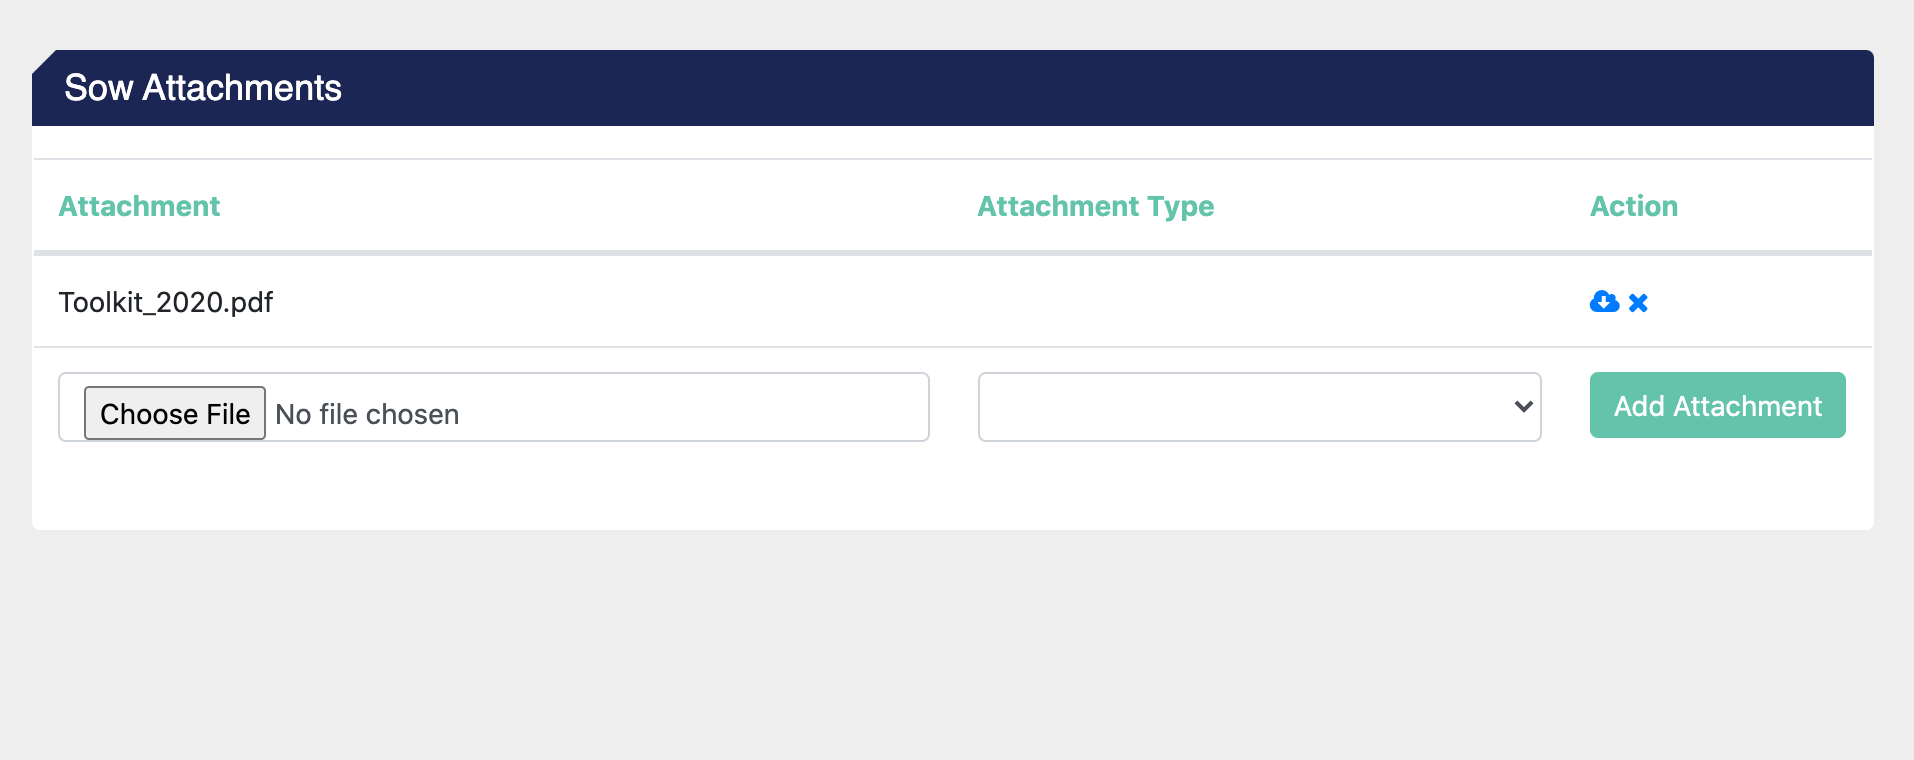
Here, you can see the attachments already in the Project. To create a new attachment on the Project, use the Choose File button to select a file and select the Attachment Type targeted in your Document Template. When you're ready, click Add Attachment.

After the image uploads, you will see the new attachment in the list.
Create the targets for the image in your document.
You will need a Word Image Placeholder, a particular data element we use to target images into your document. You can copy and paste this element out of this Word document.
You can find the Word Image Placeholder here.
Inside the Word document, you will see the image placeholder surrounded by the merge tags that "target" the image into the placeholder:

The syntax of these merge tags is
You can learn about using Merge Fields in our Help Center.
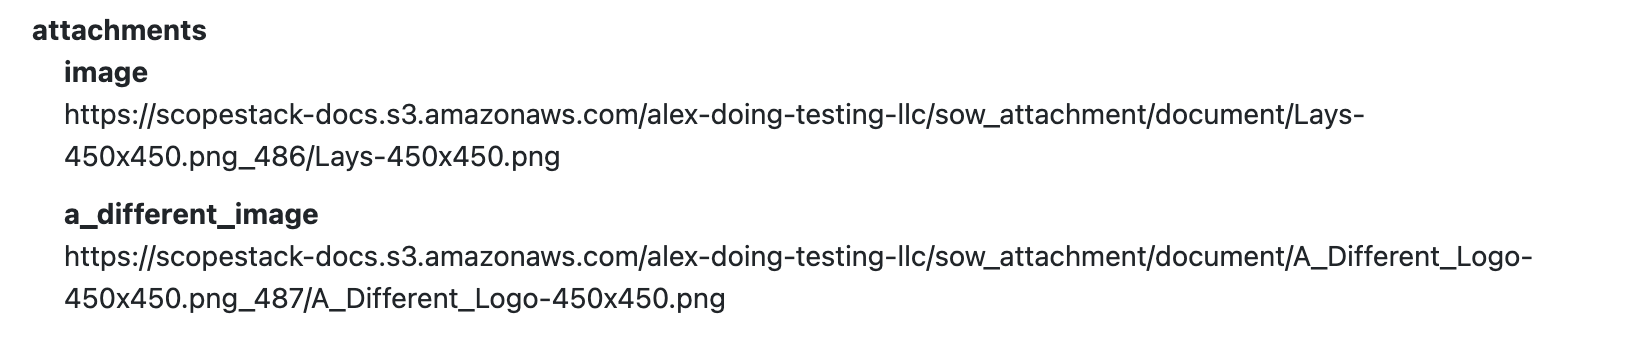
In this case, the account has an Attachment Type called an image, so the slug is image. You can see the Attachments in the Merge Data under the attachments key:

You can learn more about viewing Merge Data in our Help Center.
If I add an Attachment Type to the Project and upload an image to that type, I can see the additional item in the Merge Data. In this case, I created a type called "A Different Image." After uploading an attachment to that type, you can see the slug in merge data here:
In this case, to target these Attachment Types, I would layout my document like so:
You can add the image placeholder to your document where you would like the image to be placed.

After you've uploaded the image via the Project Attachments dialogue, you can generate the document:

2. Store Documents with your Project in ScopeStack
Project attachments are a great way to store documents related to a project, making them easily accessible right inside ScopeStack for others working on the Project.
You can find project attachments under the General section of any project.
Inside, you can select any file you want to upload to be attached to the Project.
After selecting a file using the "Choose File" dialogue and clicking Add Attachment, the file will be uploaded and stored with the Project in ScopeStack.
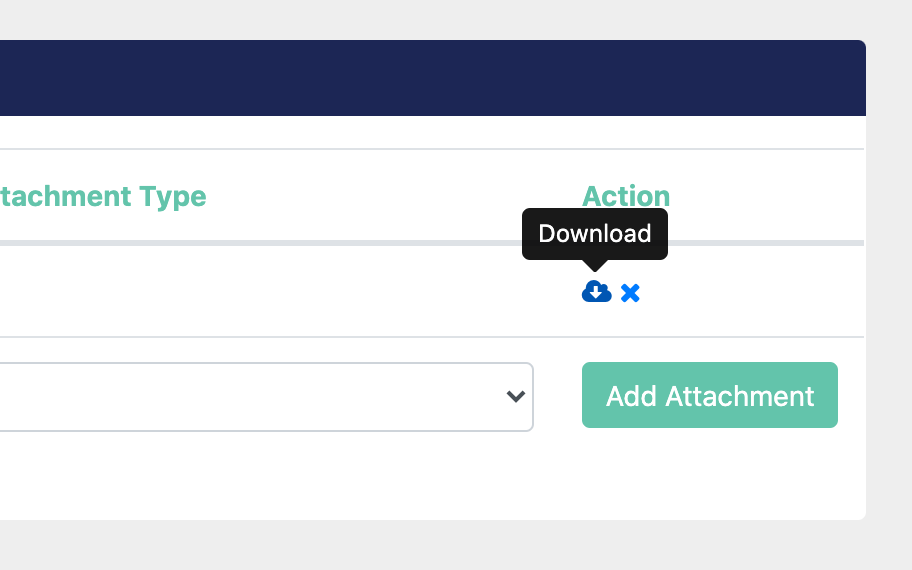
To download the file, you can click the cloud icon with the down arrow inside it. You can also remove an attachment by clicking the X icon.
Attachments are a convenient way for you to store files associated with your Project, right inside ScopeStack!
Did this answer your question?