You can set up a connection between ScopeStack to pull in your Dynamics 365 Sales Opportunities and use the information to pre-populate a Project with crucial information.
You can learn more about how CRM opportunity syncing works in ScopeStack elsewhere in our help center, but here, we will talk about how to set up the connected app.
Registering the Application and obtaining the Application (Client) ID
Before accessing API settings, you must register a new Dynamics 365 App. You will create a unique App ID with specific rights to access your Dynamics 365 instance.
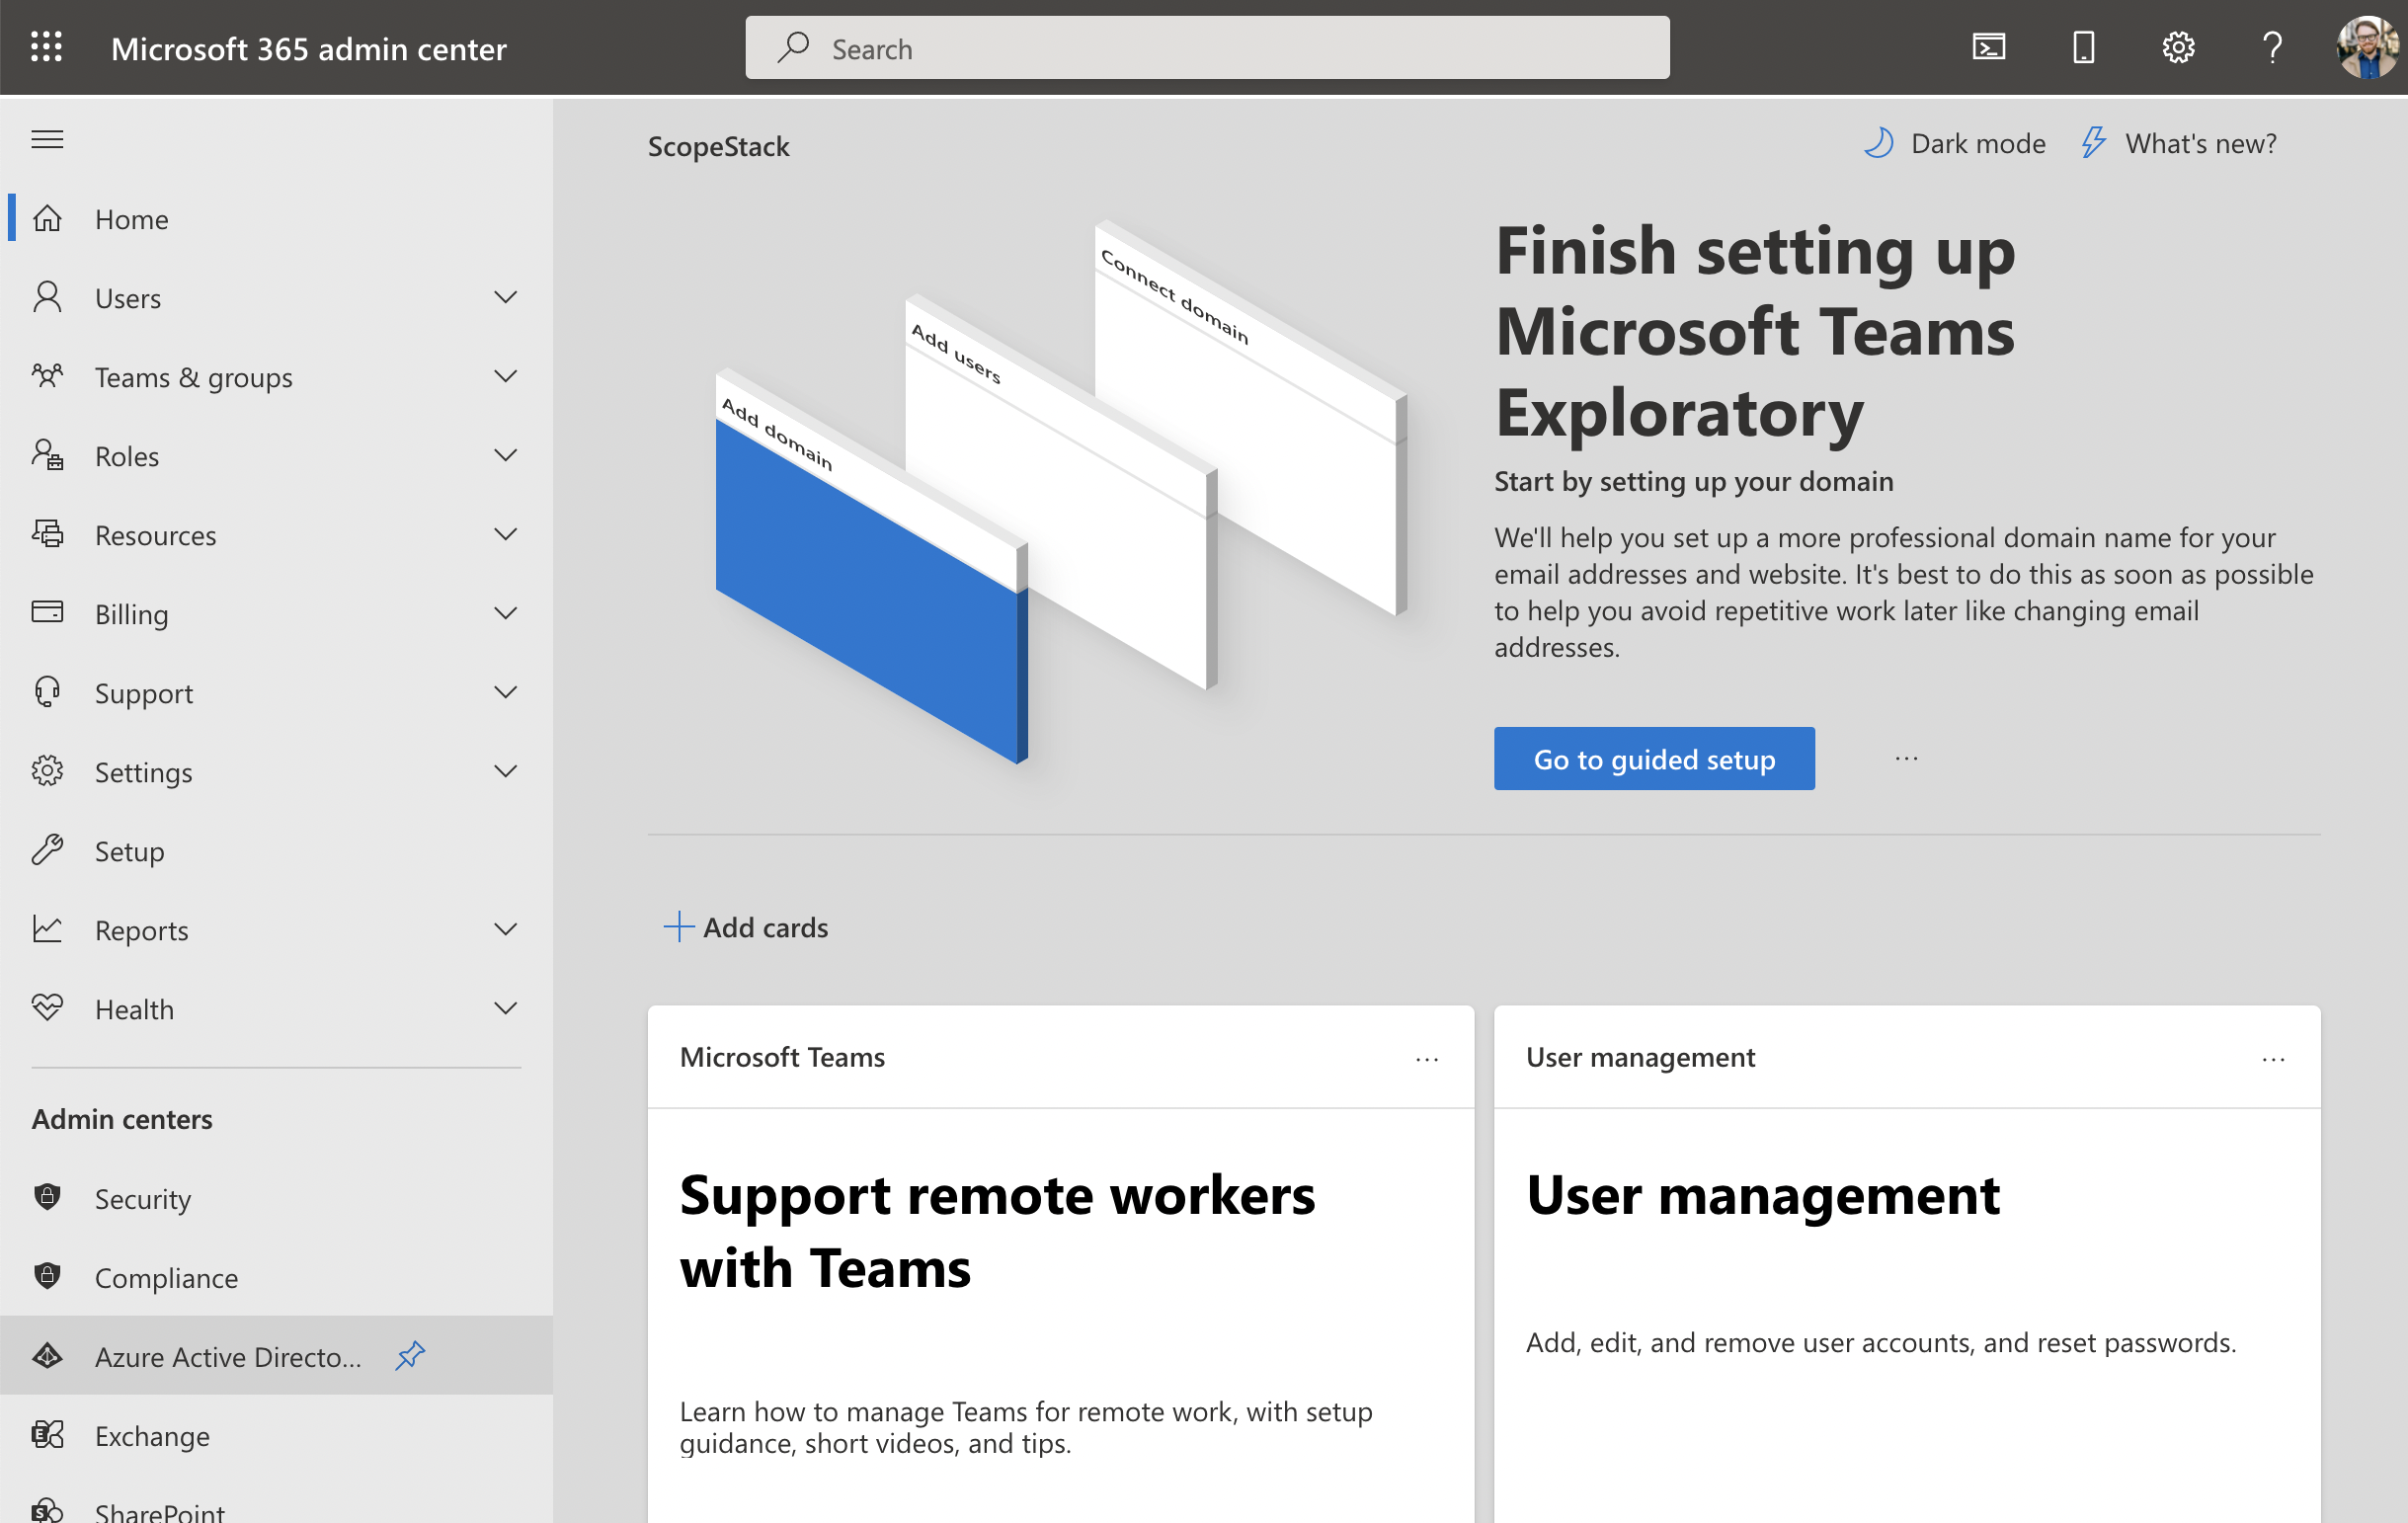
To continue, you will need access to Azure with appropriate permissions. From the Microsoft 365 Admin Center, you can select Azure Active Directory under the Admin Centers section of the menu.
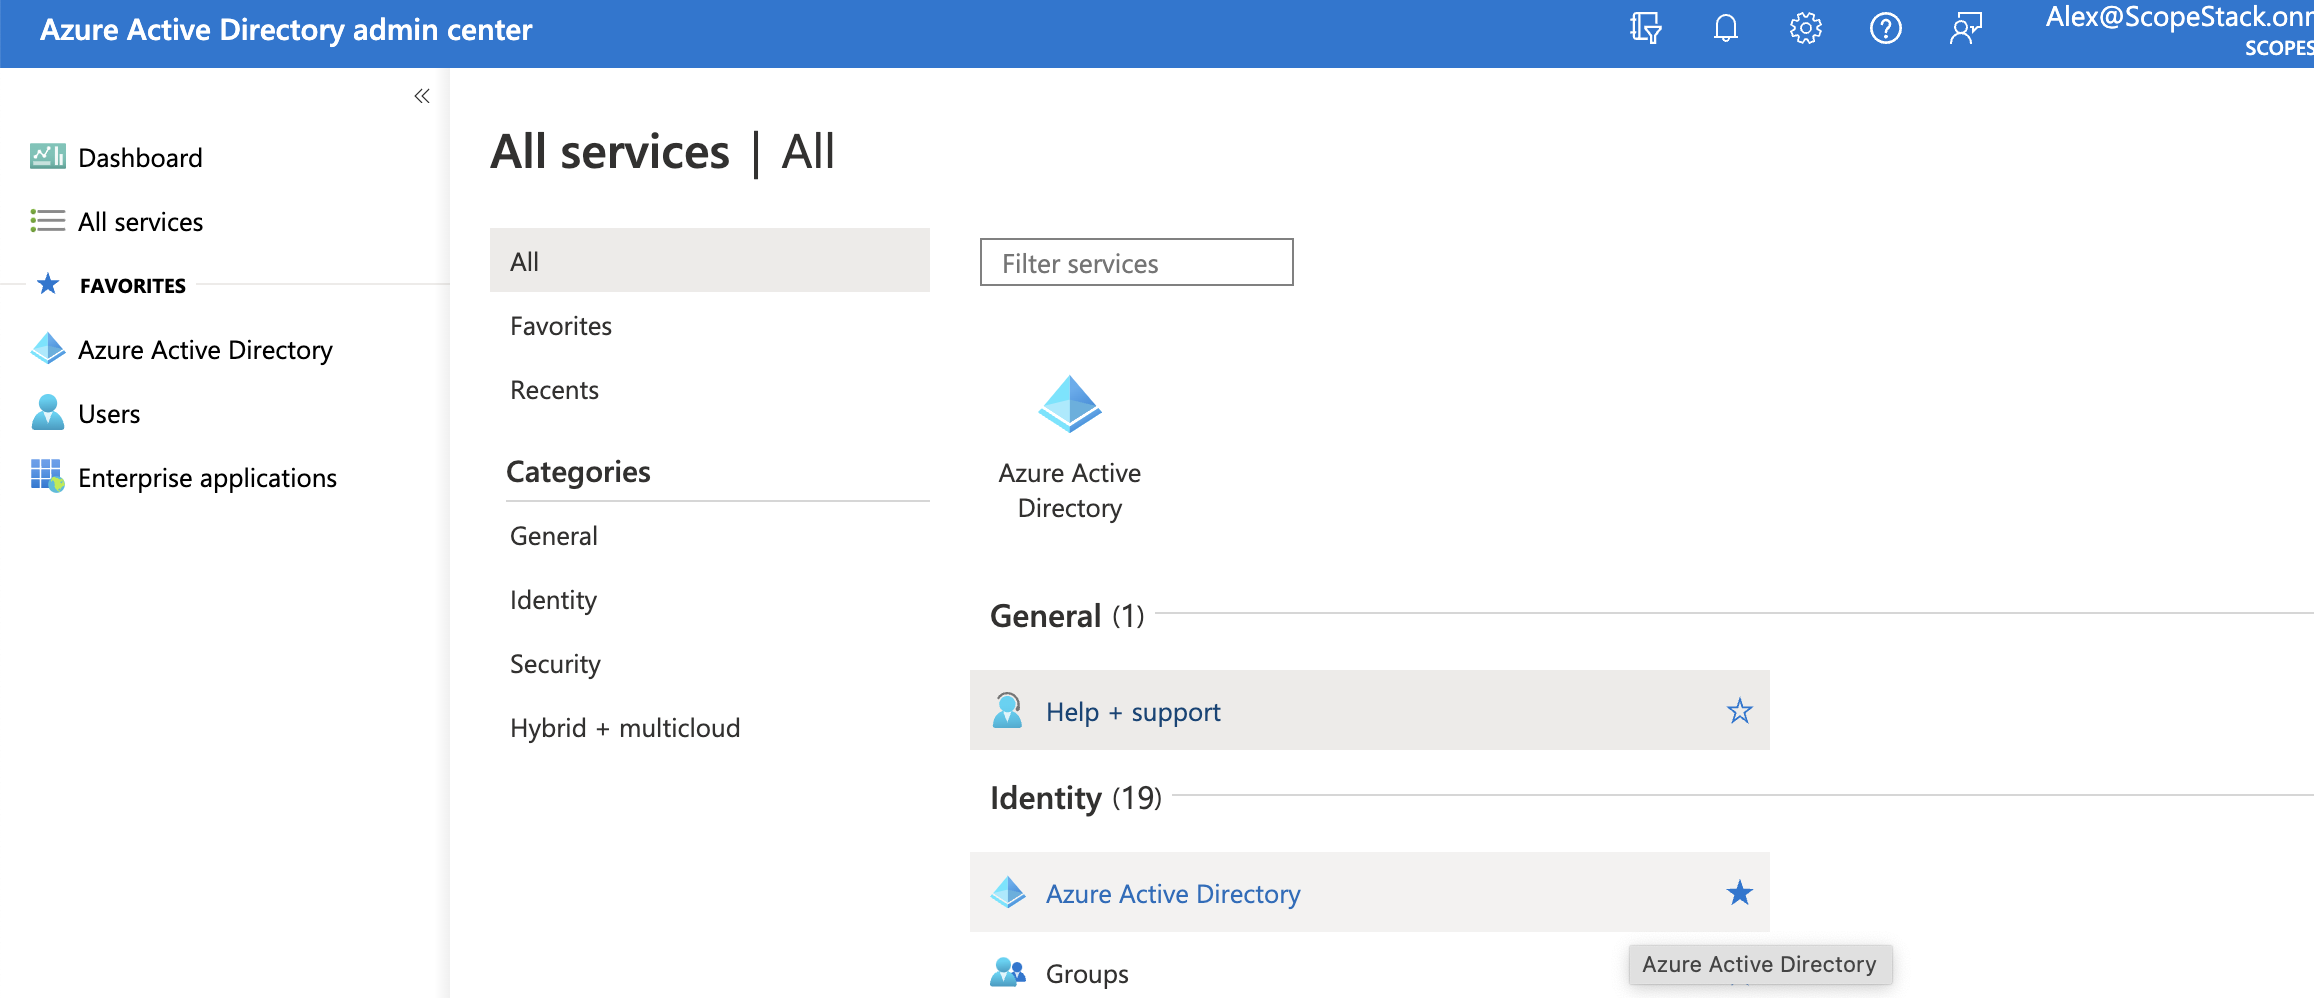
From the Azure Active Directory admin center, you can navigate either using Favorites to Azure Active Directory or by clicking All services and then selecting Azure Active Directory from the list of options under the Identity heading.
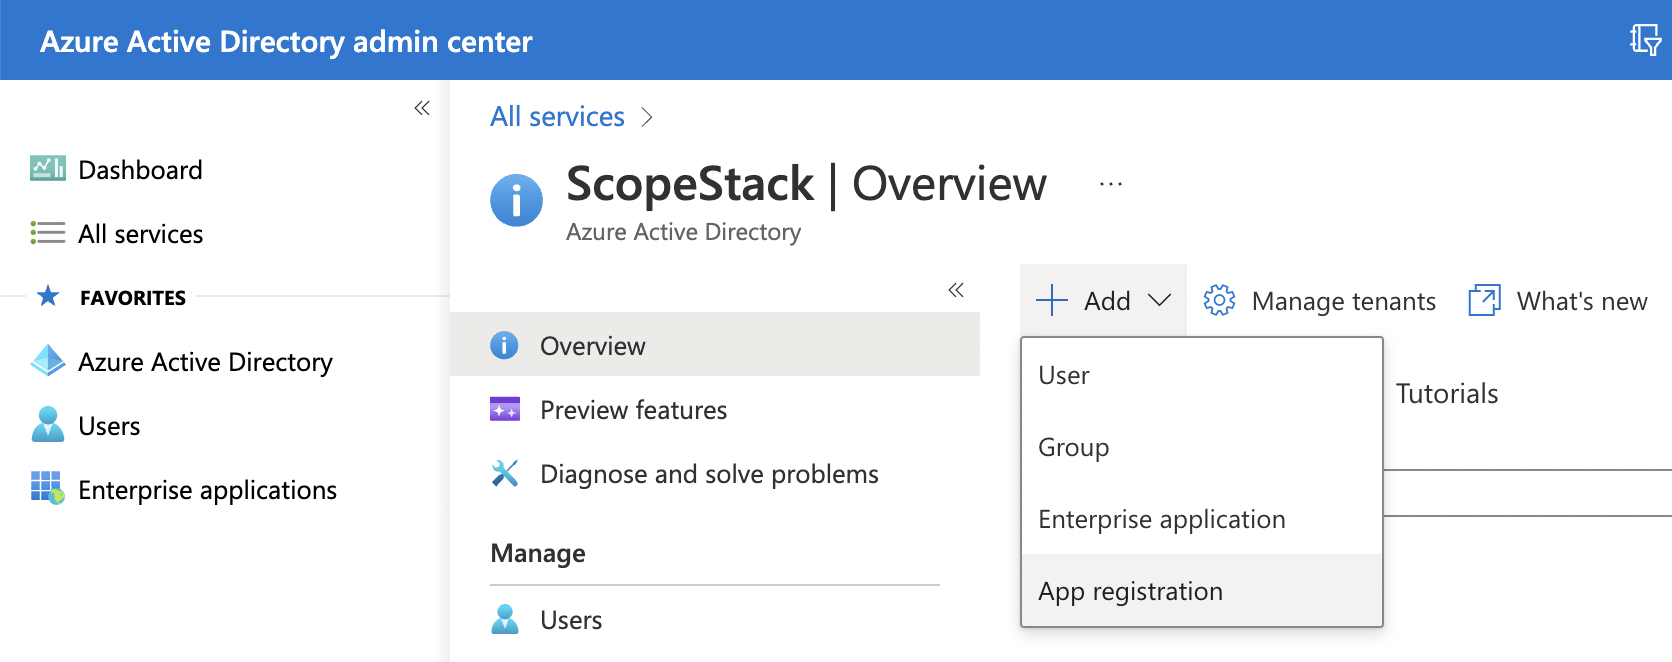
Once here, you can select + Add > App Registration.
In the Application registration form, you have to enter some information:
-
Name: this is the name of the registration app. Enter a meaningful one.
-
In the Supported account types part, select Accounts in any organizational directory.
-
Set the redirectUrl. In our case, let’s use Web and https://app.scopestack.io/admin/dynamics/callback.
Then click Register.
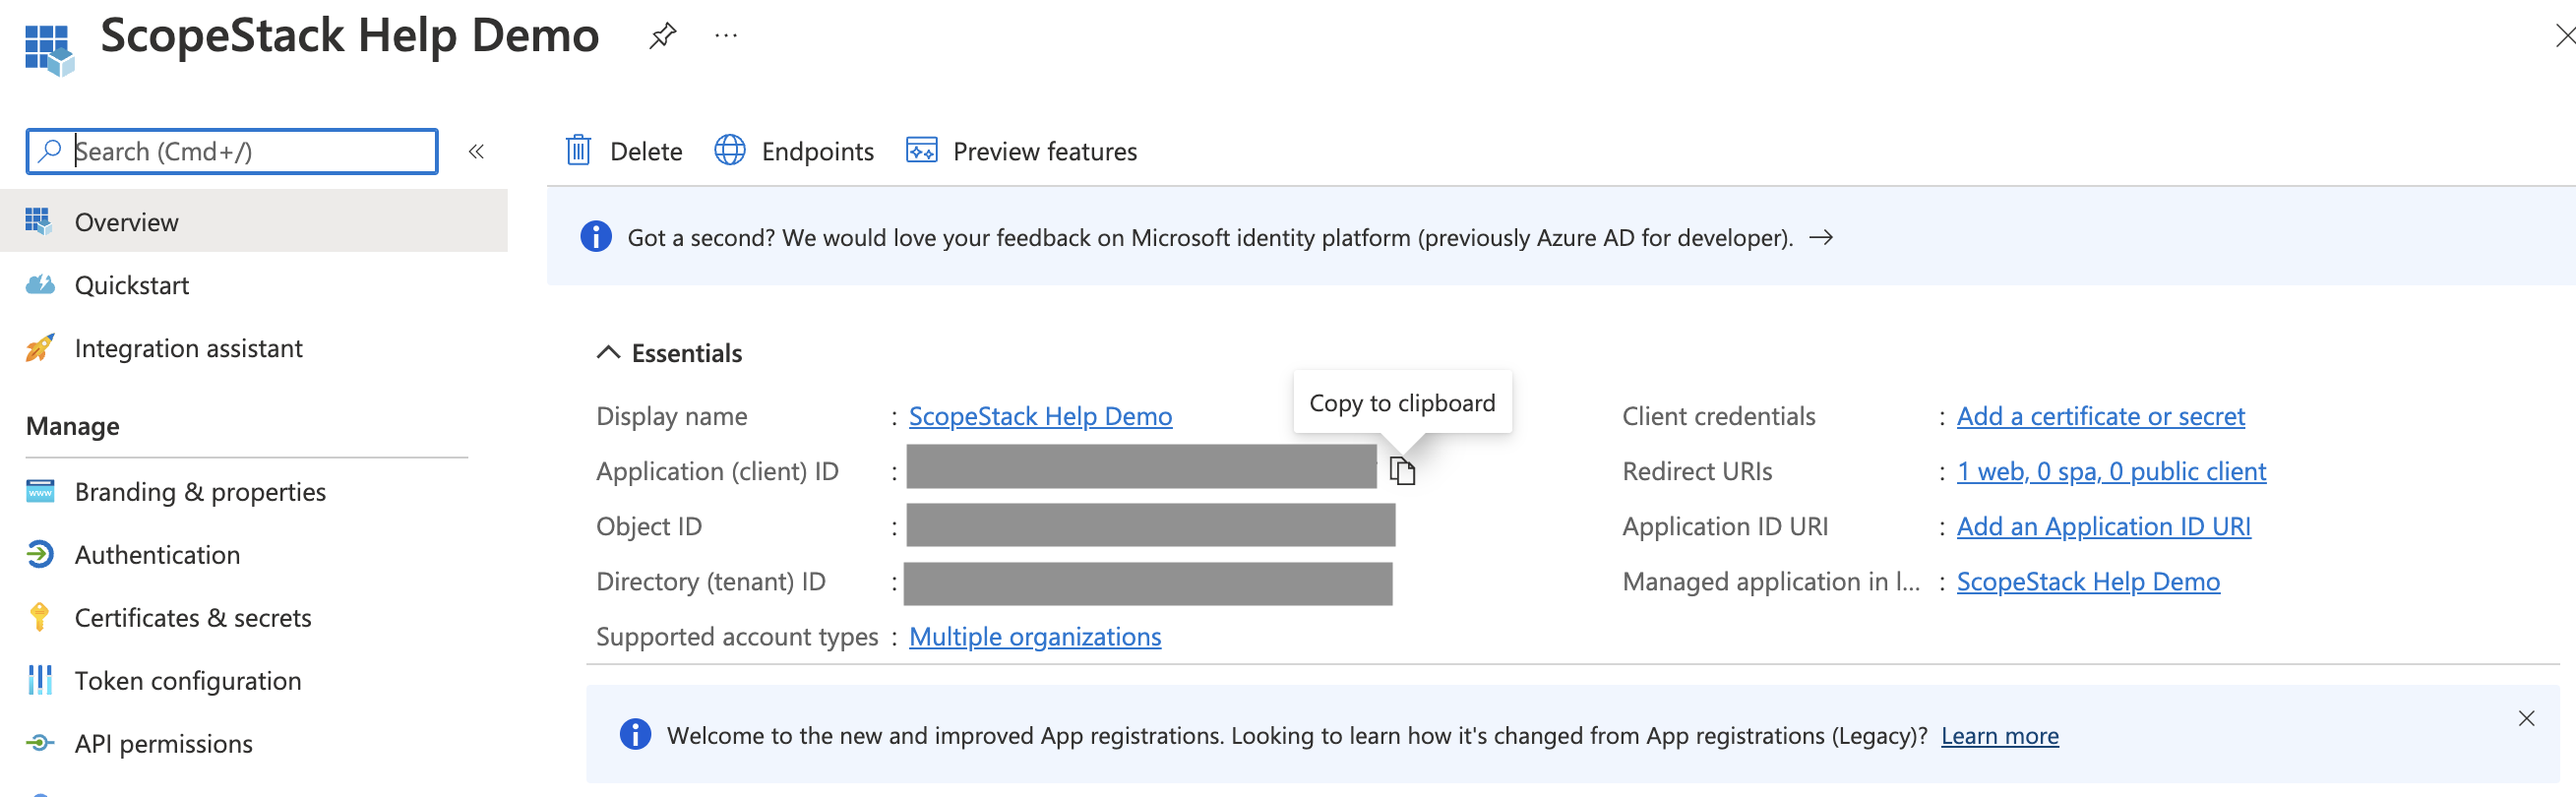
The application will take you to a page that gives you an overview of some essential information from your created app. Take note of your Application (Client) ID and Directory (Tenant) ID values; you'll need these in ScopeStack.
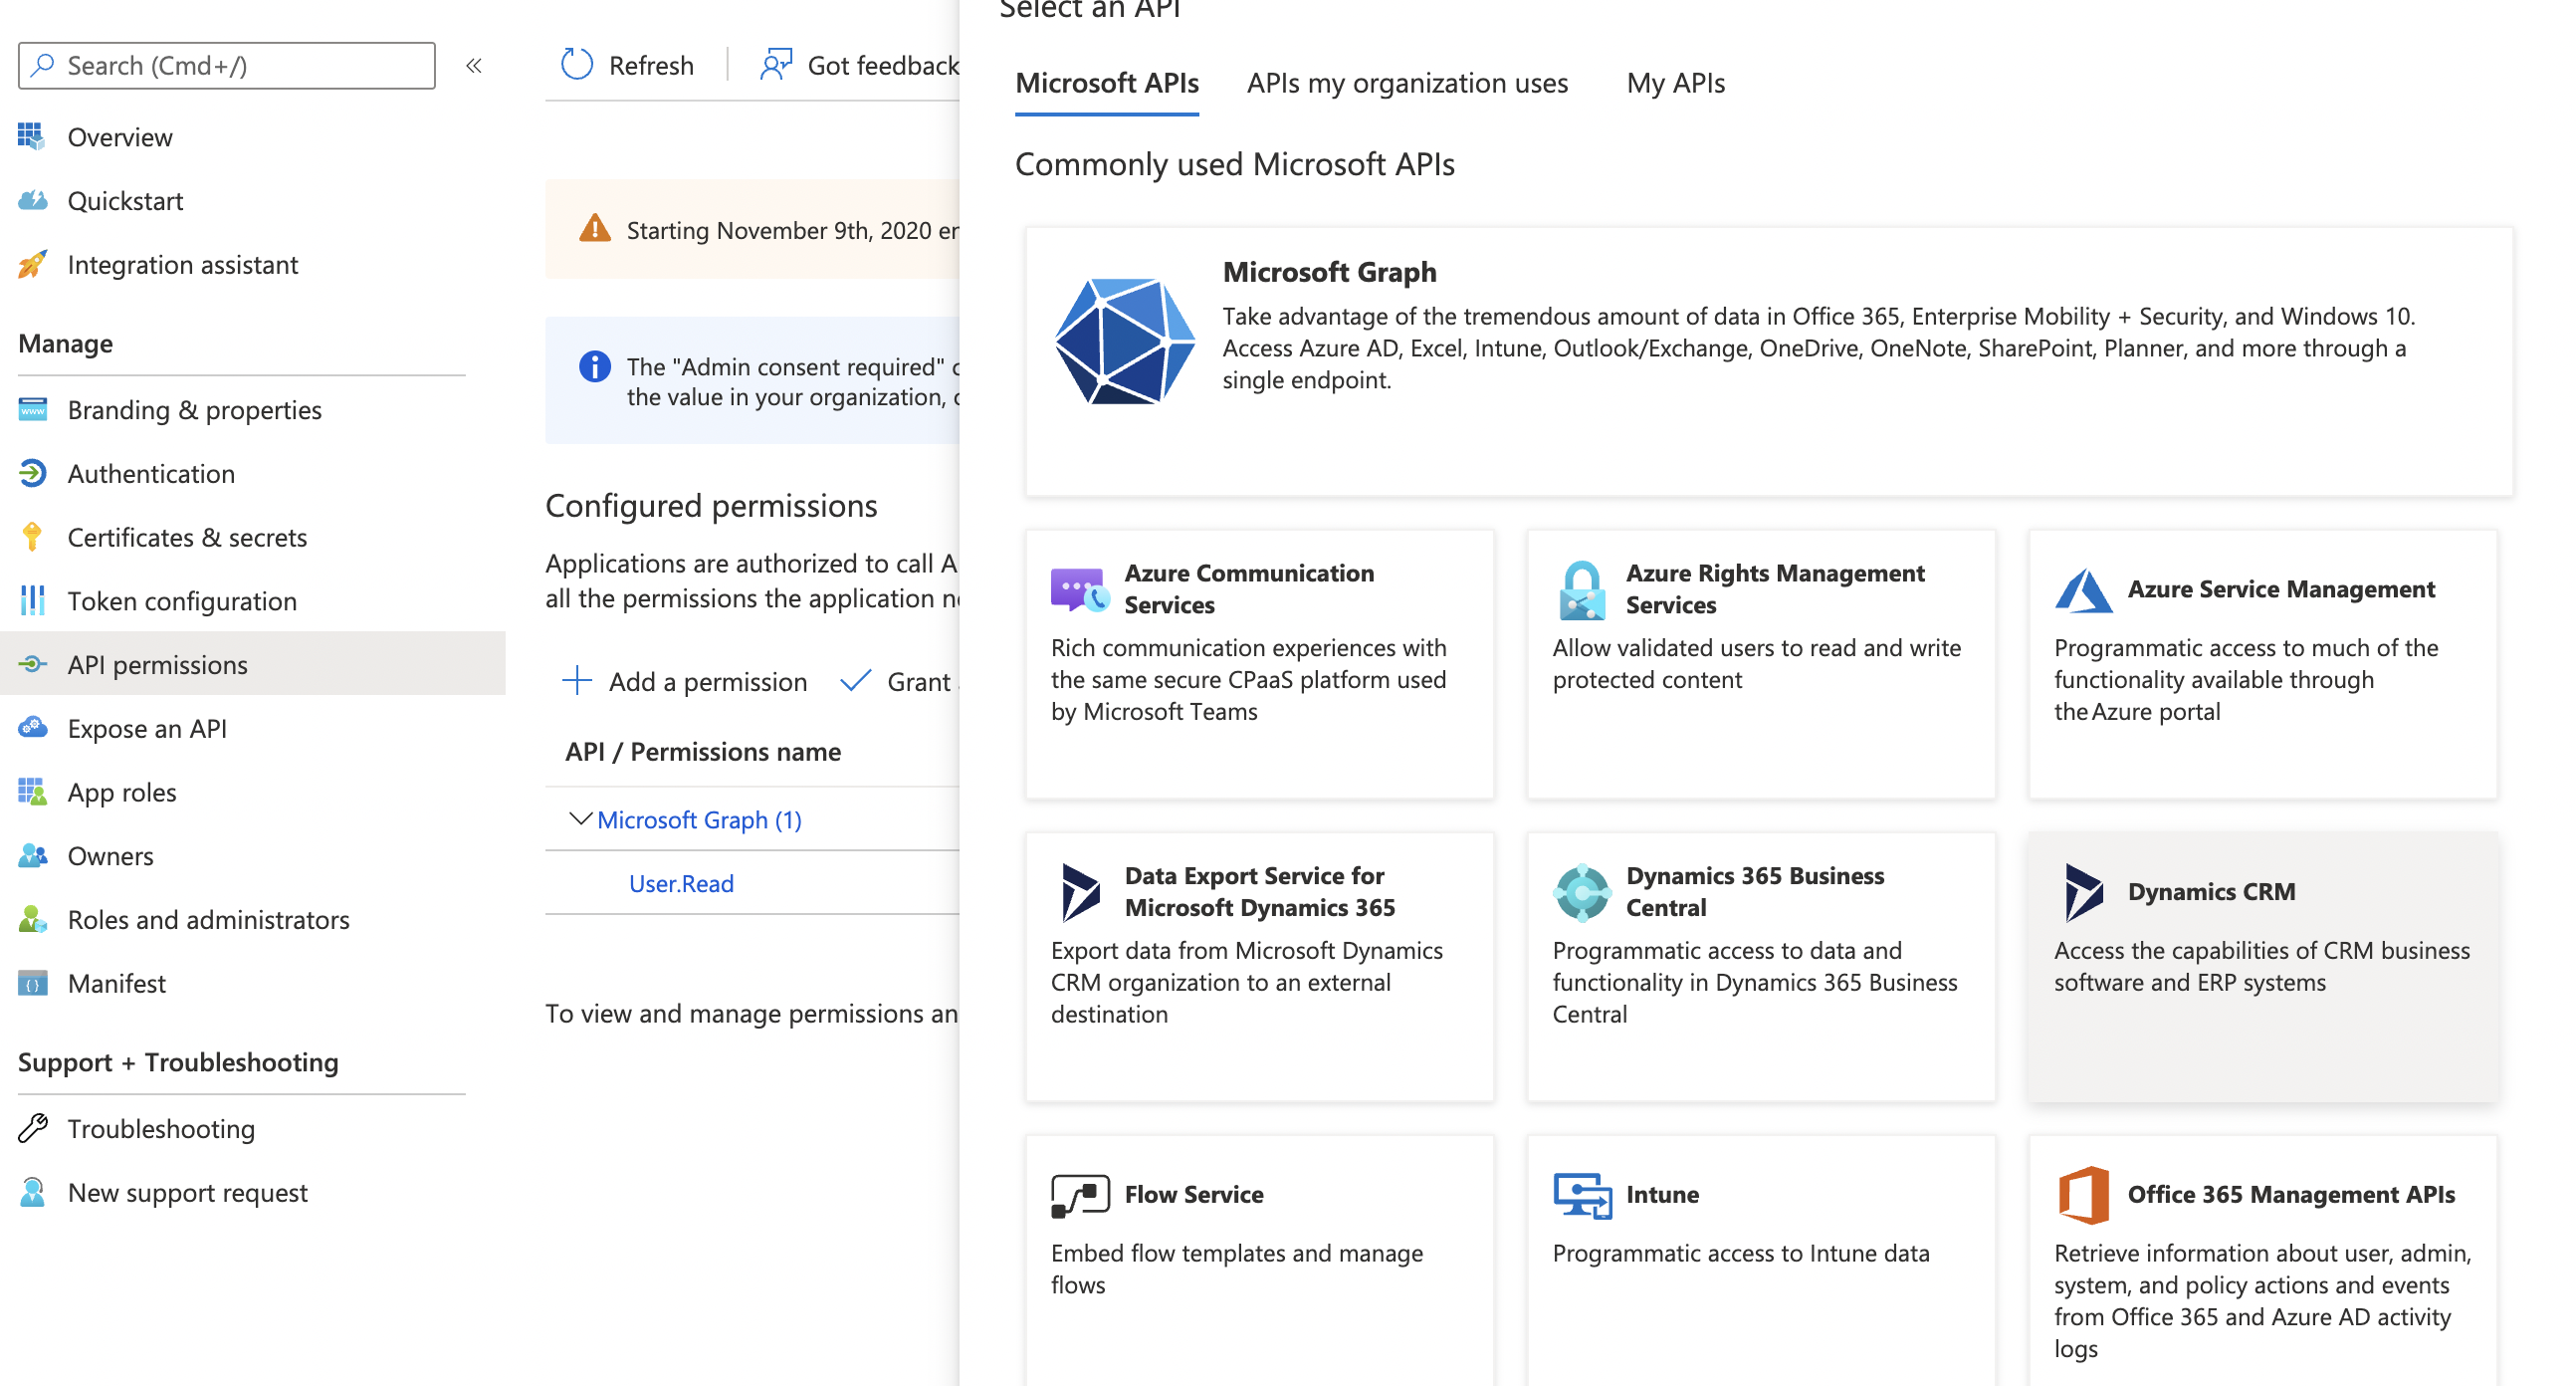
Next, we need to give the application permissions. Click the API Permissions item in the Manage menu to the left of the key information. Once on the API Permissions screen, click + Add a Permission and select Dynamics CRM from the list of options.
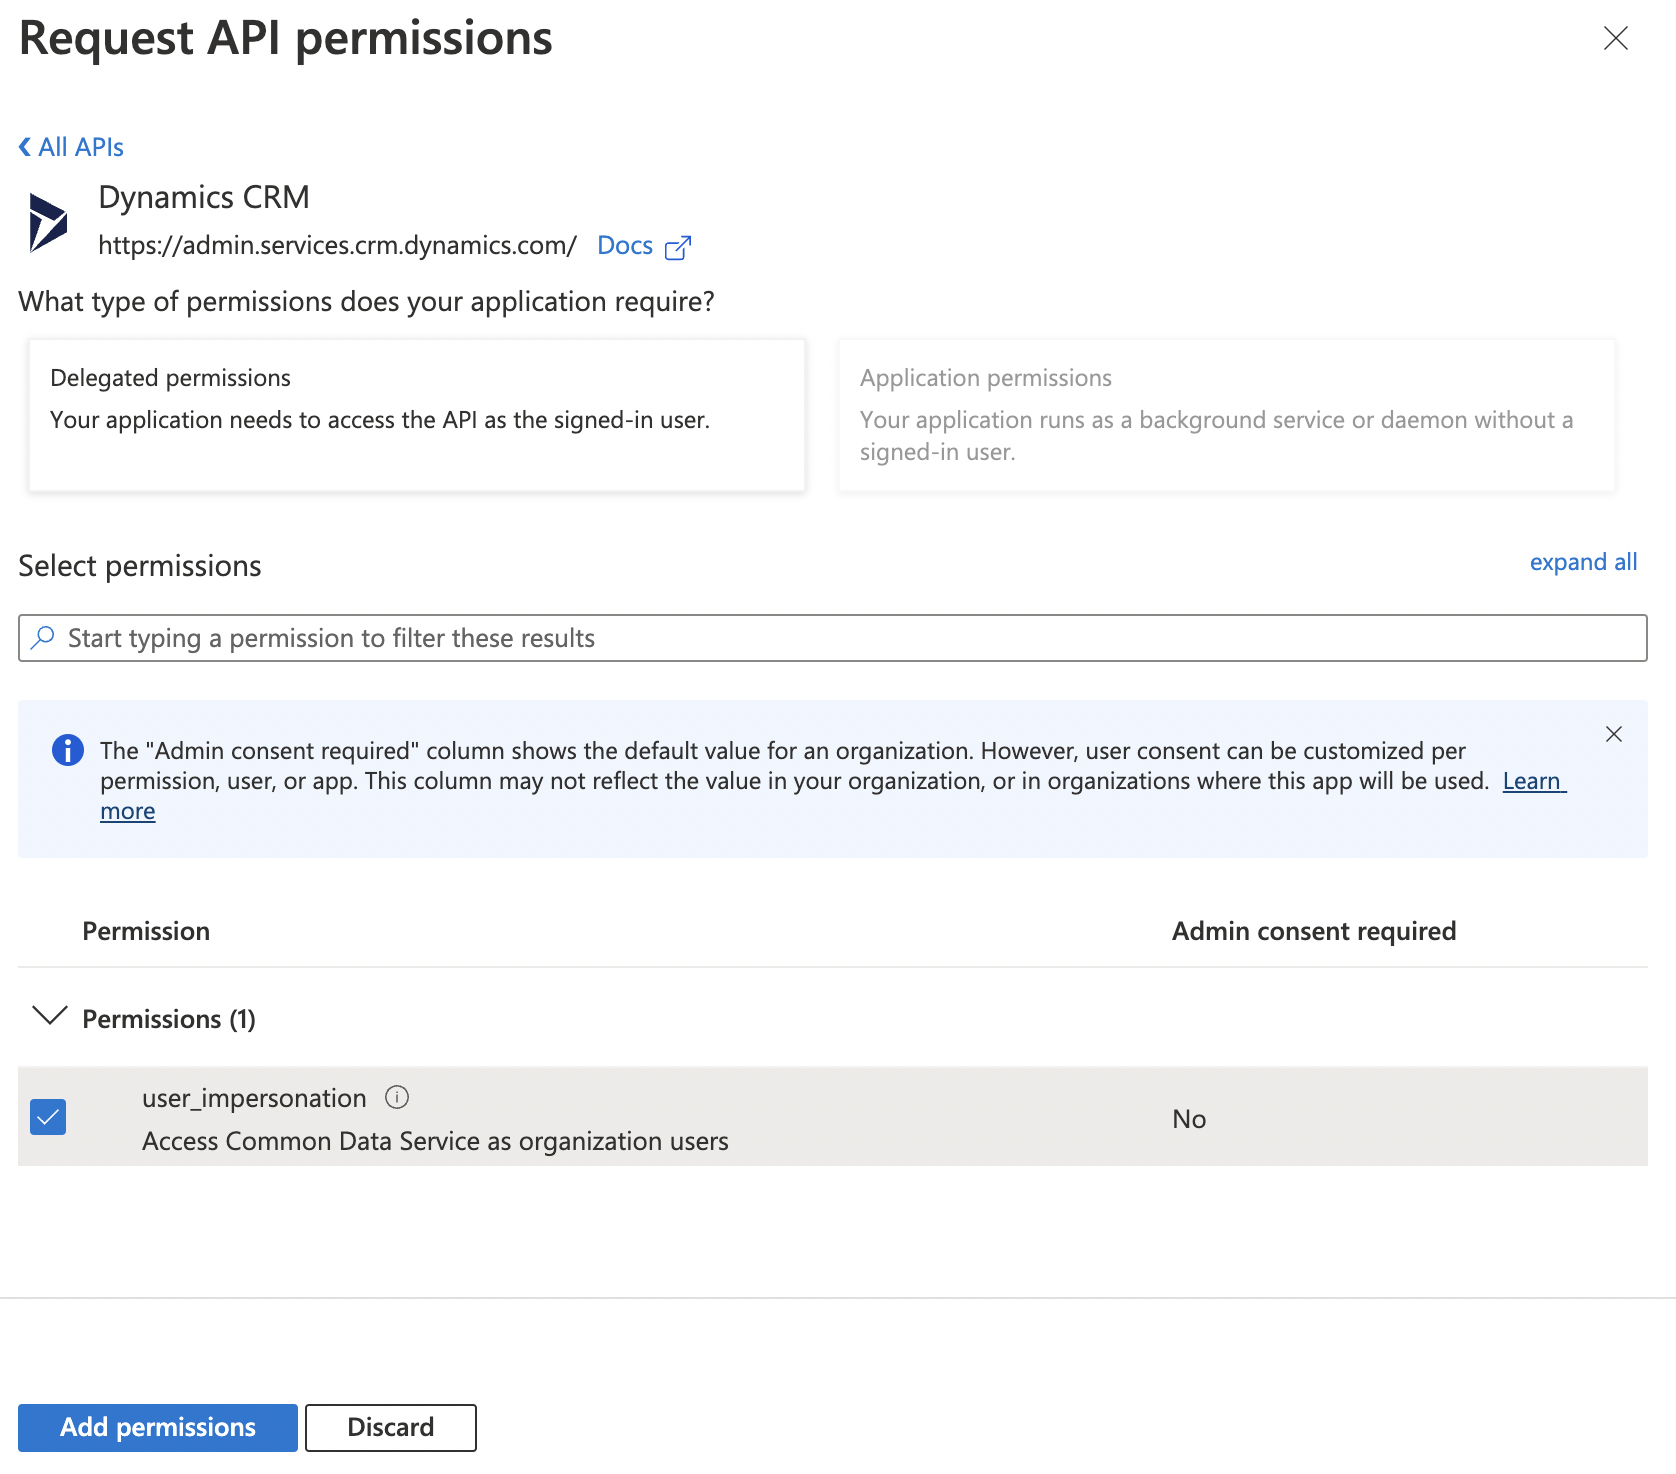
Select Delegate Permissions, select user_impersonation by checking the box, and then click Add permissions at the bottom of the dialogue.
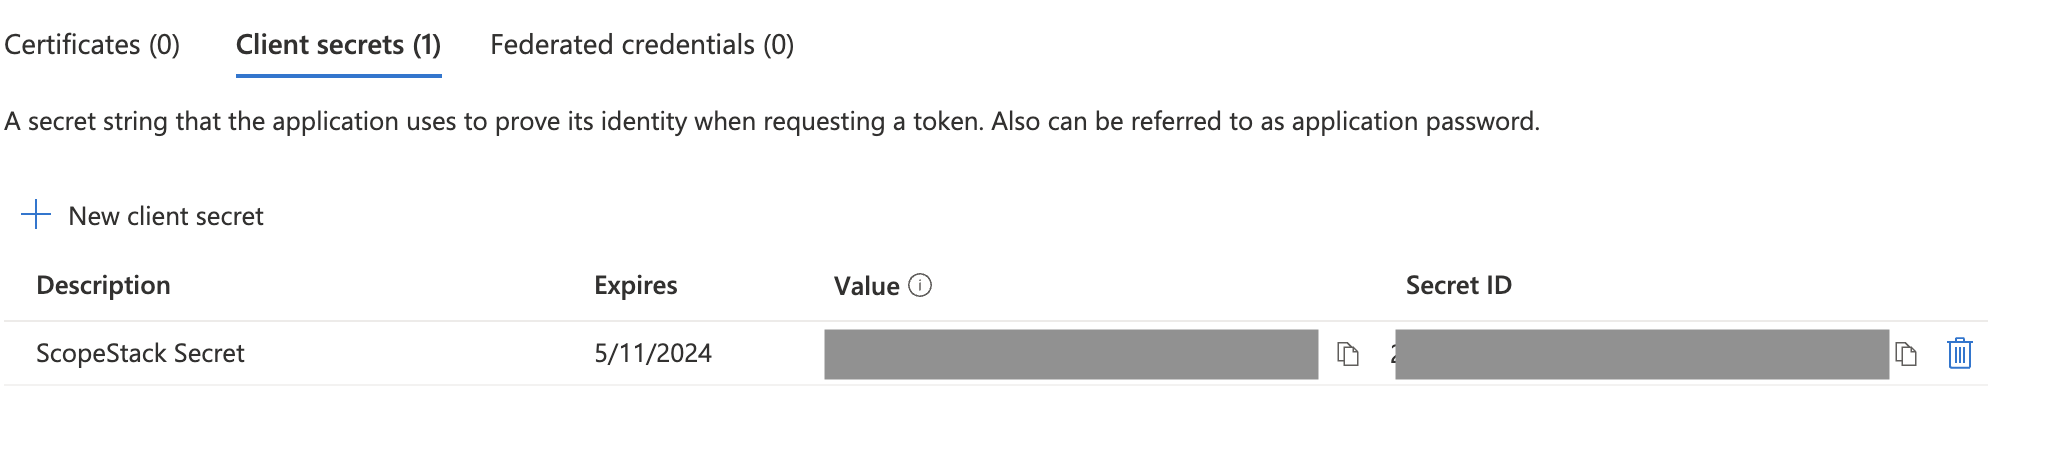
Certificates & Secrets, and obtaining your Client Secret value
Next, navigate to the Certificates & secrets menu item and click + New client secret.

Give your secret a name, select an expiration term, and click Add.
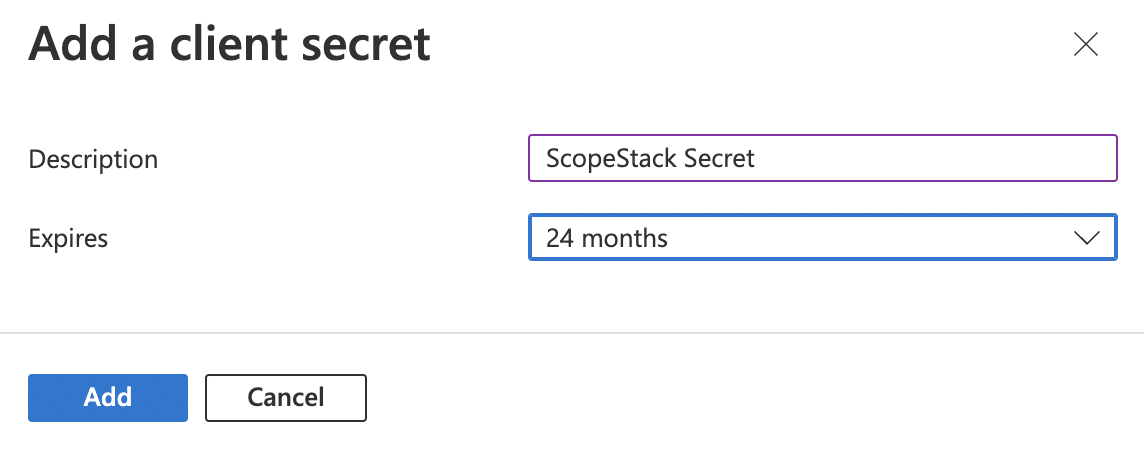
The application will now show you your Secret information. Make sure to take note of the secret's value, as this is the only time you will be able to see it. If you navigate away without taking note, you'll need to create a new secret.
Setup your Integration in ScopeStack
To complete the integration between ScopeStack and Microsoft Dynamics make sure you have your Microsoft Dynamics account information handy. Navigate to the Connected Apps page in ScopeStack settings (Settings > Connected Apps > Microsoft Dynamics tile).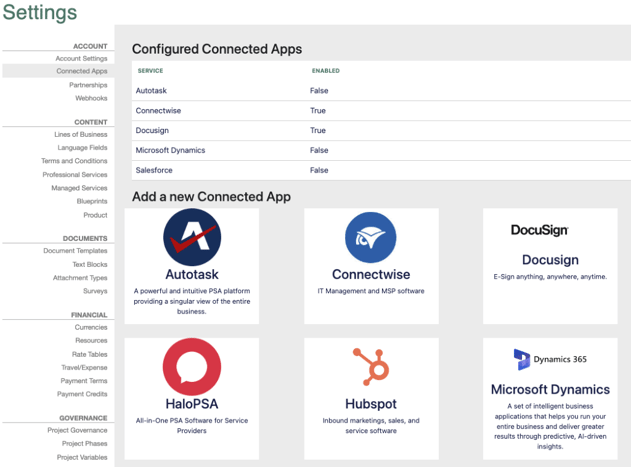
You will be navigated to the set up page.
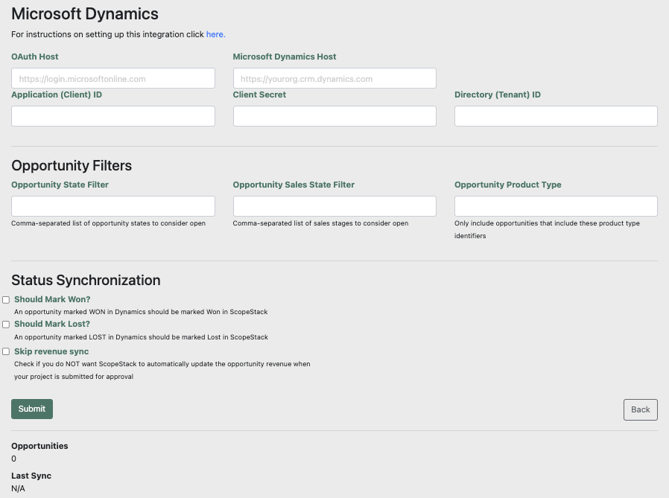
Enter your account information and click the "Submit" button. You'll be redirected to Dynamics to authenticate the application. Now you're all set! Dynamics will sync opportunities at the next scheduled sync outlined in the CRM Opportunity Syncing article.
Did this answer your question?