Create a Blueprint from a Project
Use a project as a starting point for a new Blueprint
Creating Blueprints from a Project and Using them to create another
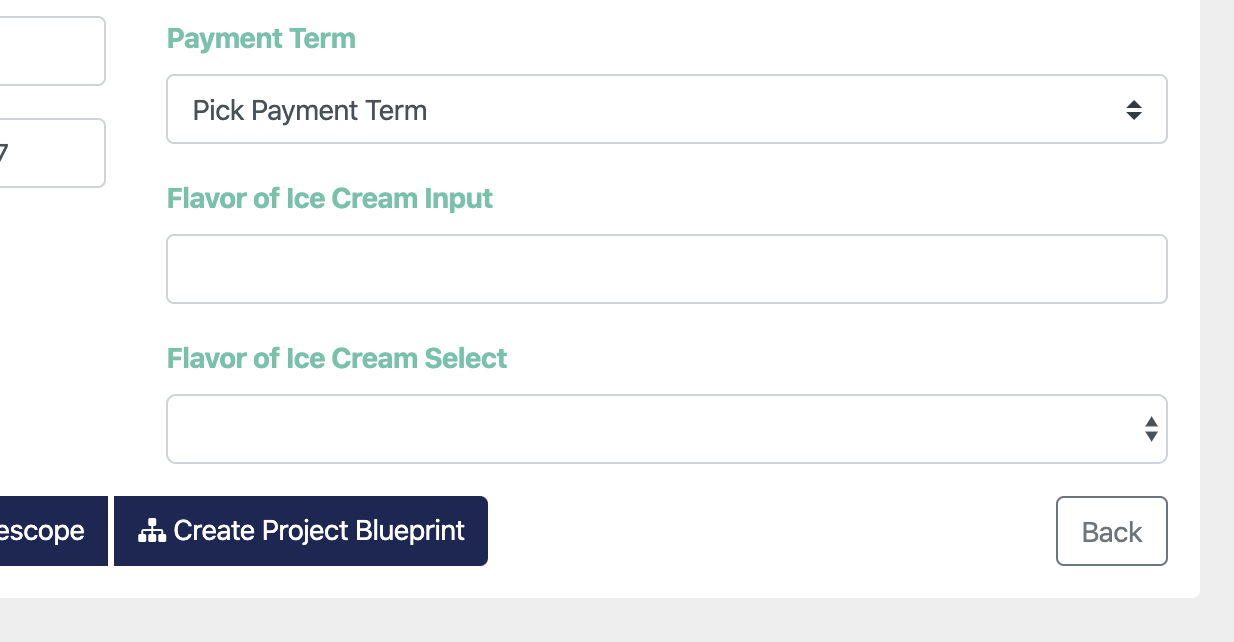
To create a Blueprint from an existing project, you must start from an Approved Project. Once your project has an Approved status, you will see the option to Create Project Blueprint at the bottom of the Project Overview screen.

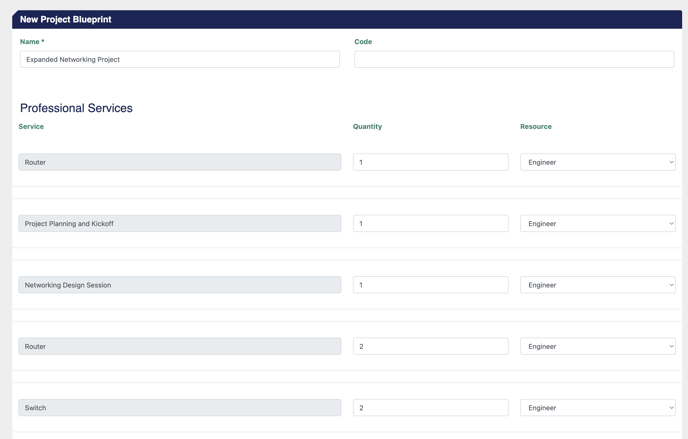
You will then see a summary of the Services from the project, their quantities, and the Resources assigned so you can make adjustments before creating your Blueprint. You can give the blueprint a name and optionally give it a unique code (this can be left blank). When you're ready, click Submit.

After you've successfully created your Blueprint, you will see a notification that allows you to view the Blueprint in the settings menu. Alternatively, you can find all of your Blueprints in Settings > Content > Blueprints.

From here, you can click the Services tab and review or modify the Services included in the Blueprint.

To use this Blueprint in a project, create a New Project and either select the Blueprint during the guided project creation flow at the Services step or select to Apply Blueprint from the appropriate services screen in Project Editor.
When you create a Blueprint, any custom services will be created and the Blueprint will be created to reference the standard services as they exist in your account.
