Business Units for Projects
Learn about adding business units to your project.
For organizations with various divisions featuring distinct addresses and logos, we offer a solution. This enables you to incorporate multiple business units into a single project document and dynamically insert the respective business address into the Statement of Work (SOW).
Creating a Business Unit
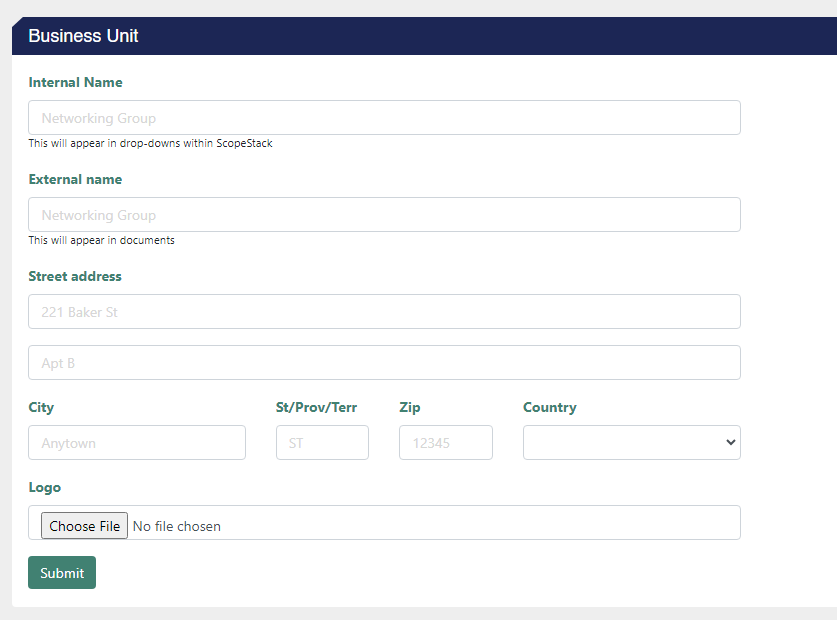
To get started with Business Units, navigate to Settings > Business Units. To create a new Business Unit, click the + Add Business Unit button on the page.
Here you can add information about your Business Unit such as Internal Name, External Name, Address. The logo function here is an experimental feature that doesn't presently function, but you can embed logos directly in your document templates and use a logical test to include the logos in your documents.

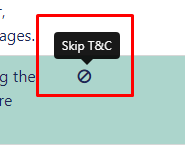
Once created, you will have new a tab available to called, "Terms & Conditions." Here you can edit the Terms and Conditions of your business unit or you can choose to skip your Terms and Conditions using the "Skip T&C" button.

For more information on Terms and Conditions, check out our help article here:
https://support.scopestack.io/help/terms-conditions
Adding your Business Unit to a Project
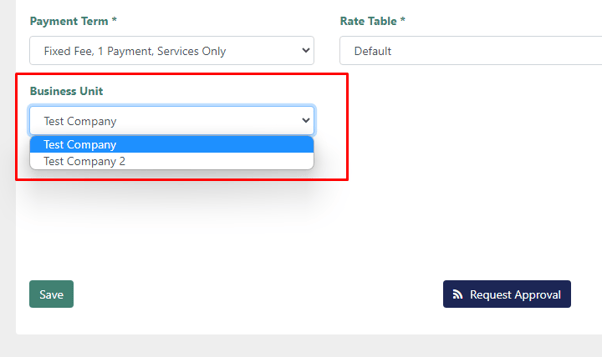
Once you have created a Business Unit, you will see a dropdown available on your project's Project Overview page. Here you can select which Business Unit you would like your project to use.
Business Units Merge Fields
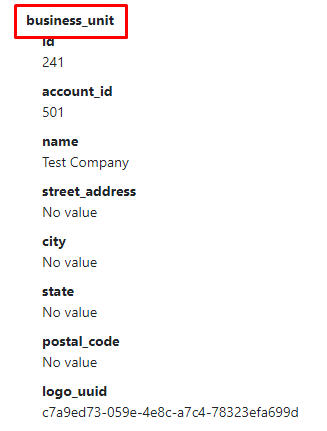
You can find all merge field information in your project's Merge Data View under the object "business_unit".

You can find additional information about Business Unit's merge fields in our "Common Merge Fields" help article:
https://support.scopestack.io/help/common-merge-fields
Did this answer your question?


