Autotask Project Creation for PSA
Your guide to utilizing the push to Autotask
If you use Autotask as your PSA tool, you can leverage ScopeStack to "push" approved project details from ScopeStack into Autotask and create a project with tasks from the different elements of your ScopeStack Project.
How to create an Autotask Project from a ScopeStack Project
Requirements
-
The project must be approved in ScopeStack
-
You must have configured your Autotask Connected App
Step-by-Step
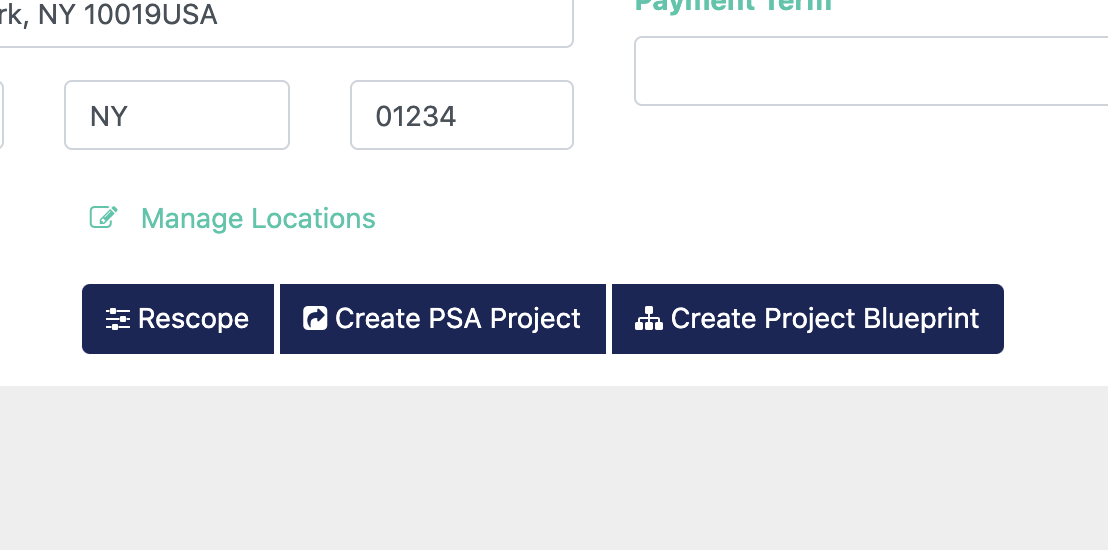
Once your project is approved in ScopeStack, you will have the option to Create PSA Project.

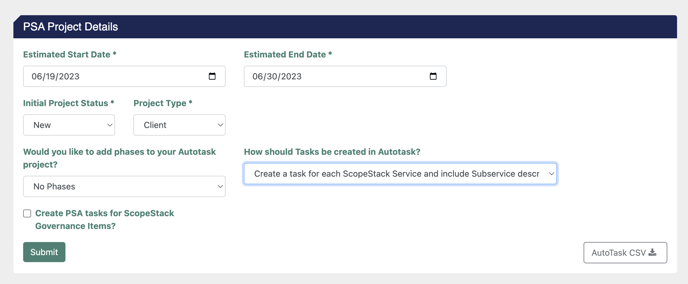
From there, the platform will take you to a screen where you can set up some additional information about the project.

To complete the steps in ScopeStack, you will need to define:
-
The Estimated Start and End Date for your project.
-
The Initial Project Status. These options are populated from your instance of Autotask.
- The Project Type. These options are populated from your instance of Autotask.
-
Would you like to add phases to your Autotask project? You can choose between three options:
- Don't create any phases in your Project
- Create Phases from the Phase names in ScopeStack
- Create Phases from the Service names in ScopeStack
- How should Tasks be created in Autotask? You can select from one of several options that handle the Services from ScopeStack differently as you populate them into the PSA project.
-
Create PSA tasks for ScopeStack Governance Items? If checked, this will create Autotask Tasks from your individual governance items in ScopeStack.
After you complete your configuration and press Submit, it may take a few minutes for the project to be created.
The API user will create it you set up in your Autotask Connected App setup process.
Updating a Project
After you've created the project in Autotask, if you submit the project again in the PSA Integration section of the project, ScopeStack will create new services in the PSA project but will not update any existing services.
Did this answer your question?