Add and Edit an Existing User
Navigate to Settings > Users & Groups > Users
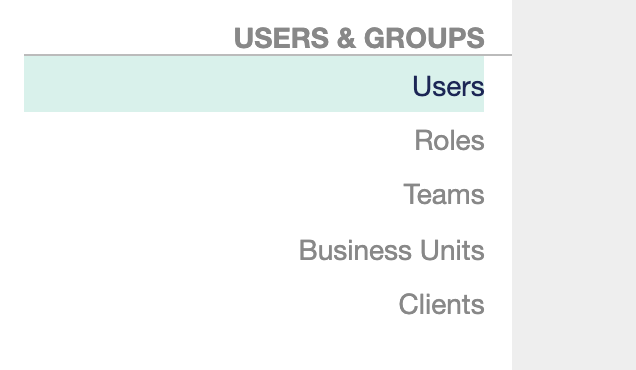
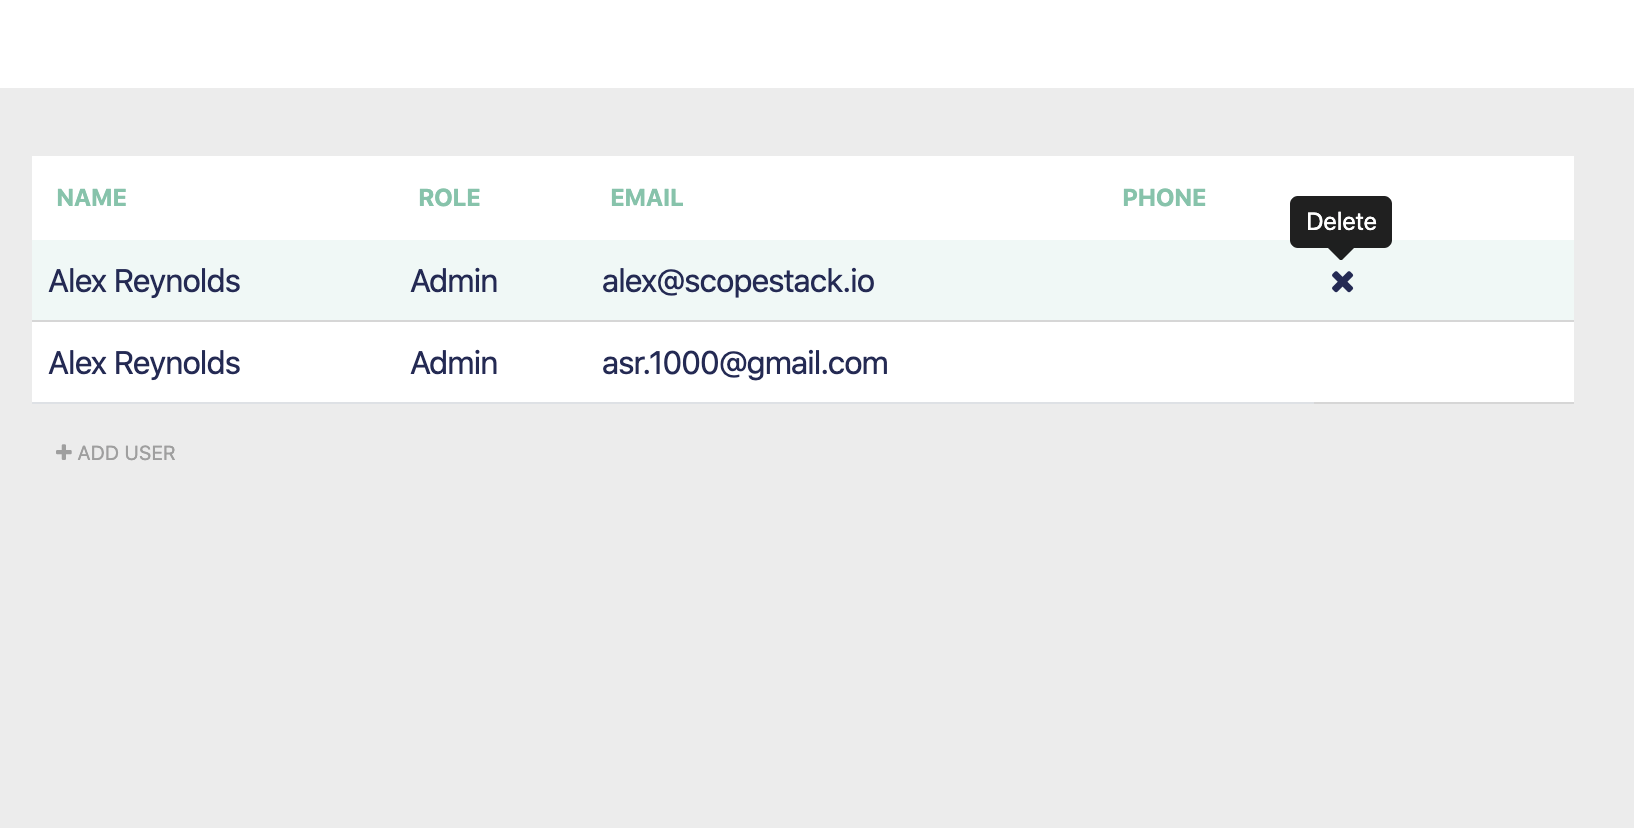
Here, you will see a list displayed of all your account's users.
-
To add a user, click + Add User below the list of users.
-
To edit an existing user, click on that User's name in the list.
Here, you can enter the basic information about the new User.
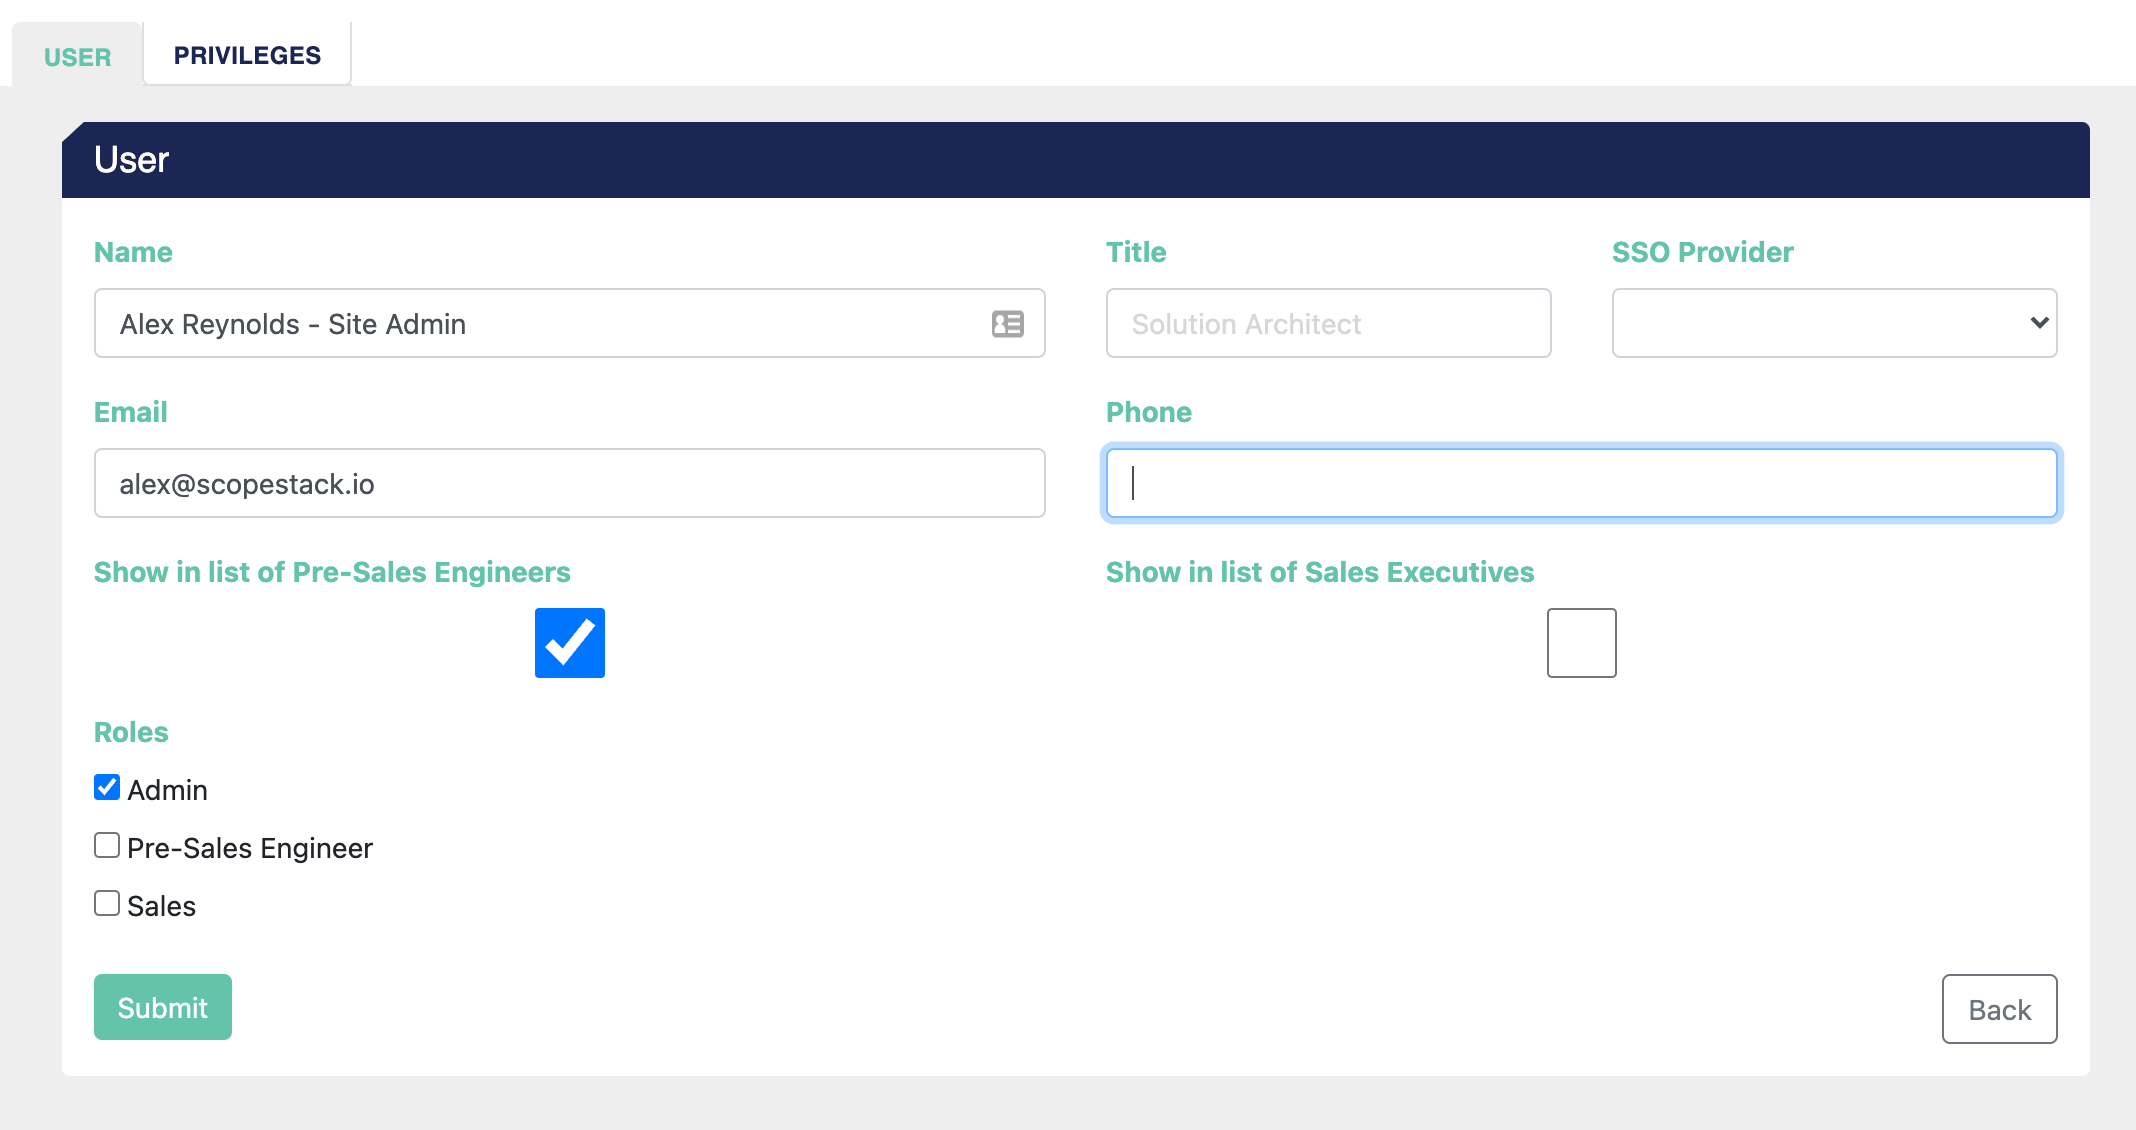
*Note the SSO Provider field shown above is a site-admin-only field. Please disregard.
For every User, you can define:
-
Name: Their name as it will appear in the platform in plain language.
-
Title: Their title will in the platform in relevant places (Contact information on projects, etc.)
-
Email Address: A user's email address for the platform. For most SSO-enabled accounts, this field is matched to your identity provider for access to the platform.
-
Phone Number: Their phone number as presented in the platform in relevant places (Contact information on projects, etc.)
-
Decide whether to include this User in your account's list of Pre-sales Engineers or Sales Executives.
-
For Pre-sales Engineers: Here, you can decide whether this User will be on the list of Pre-sales Engineers on your Projects' Overview screens. If you merge any pre-sales engineer contact information into your document, it will pull from the user information entered here.
-
For Sales Executives: Here, you can decide whether you want this User's information added to the list of Sales Exeucitvies in the platform. You can add more executives that aren't users of the platform, but this gives you an easy way to make a user available without double entering the information.
-
-
Assign Roles to the User: Here, you can define a user's roles in the platform. Roles work additively, so for any particular permission, the User will have the highest level of permission for that attribute given to them by any assigned role. You can learn more about Roles in our Help Center.
-
Teams: You can also add the User to Teams.
5. When you're ready, click Submit!
That User's email address will receive an email invitation to the platform that will allow them to set up their password.
Removing a User
Hover your cursor over any user you want to remove to reveal the "X" delete button. Click the button to remove the User from the platform.
Note that users will not be able to access the platform for SSO-enabled accounts even if they are not deleted from ScopeStack if they have been deleted from the identity provider's user list. In that case, all authentication happens via the identity provider, enabling secure access to our platform via SSO.
Single Sign On-Enabled Accounts
If your account is enabled for Single Sign On (SSO), note that the creation of new accounts is automated using your Identity Provider's Application Dashboard.
-
New users will need permission from your identity provider to access the ScopeStack application.
-
Your ScopeStack account will need to have enough user licenses, if applicable, to create additional users.
If those elements are true, then for a new user to sign in via SSO:
-
The User can navigate to your identity provider's application launcher. Once there, they can click on the ScopeStack application.
-
ScopeStack will automatically validate the User from the identity provider and create a user account for them in ScopeStack.
-
After their account's been created, the User can log back in via the provider's application directory or our login page. If users log in from our login page, they can type their email address matching the identity provider's credential. Once checked, they will be redirected to the identity provider for authentication before being logged into ScopeStack.